In this tutorial you will learn how to create a basic iOS application. To start learning iOS Application Development, you will need a Mac computer and Xcode, Apple’s Integrated Development Environment (IDE). This tutorial makes use of the Swift Programming Language. Hence before diving into iOS application development, it is recommended to have at least a basic knowledge of the Swift Programming Language.
Introduction
We will create a basic iOS application in which we will have a button and a text. Clicking on the button will change the text.
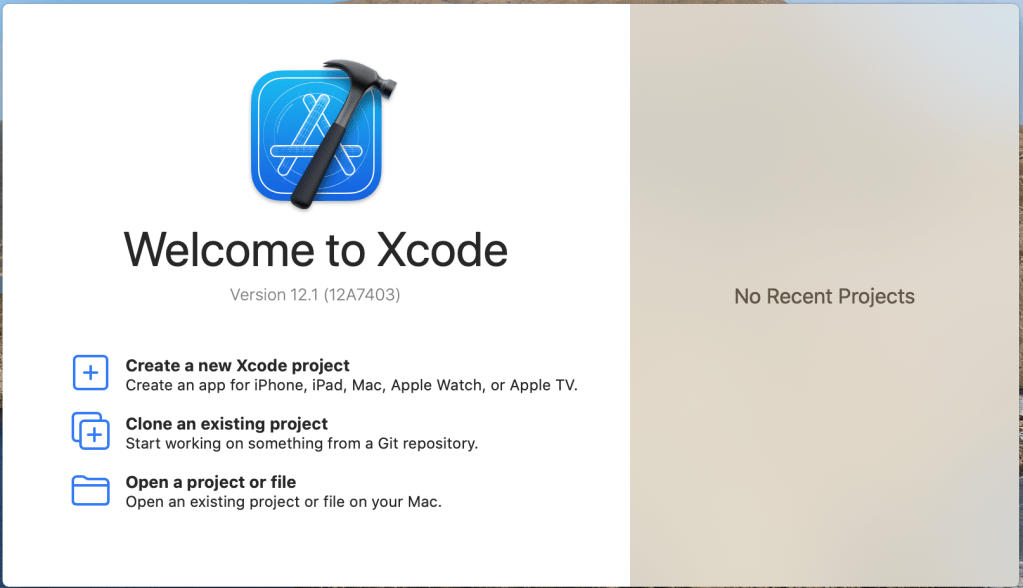
Open Xcode and click on Create a new Xcode project.
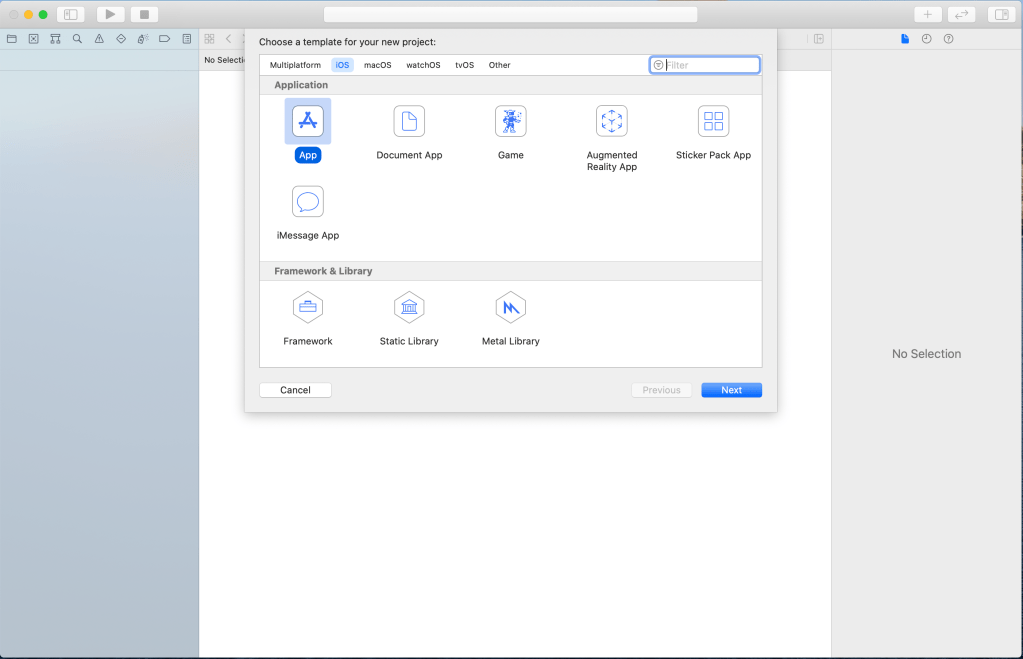
Select the iOS platform and the App template and then click Next.
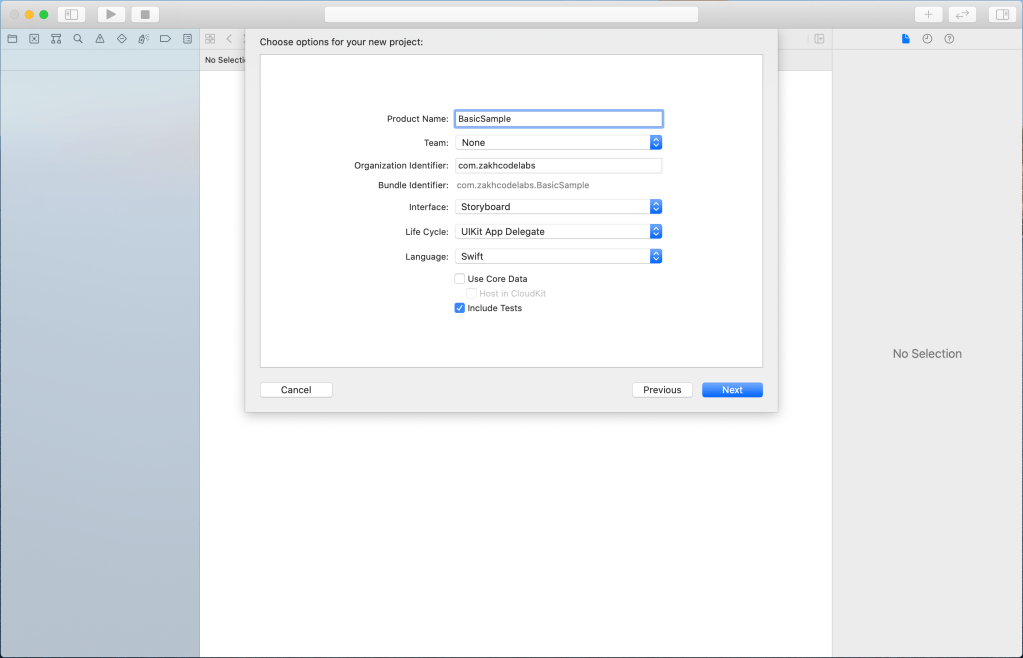
Type the name for the project BasicSample for Product Name as shown below.
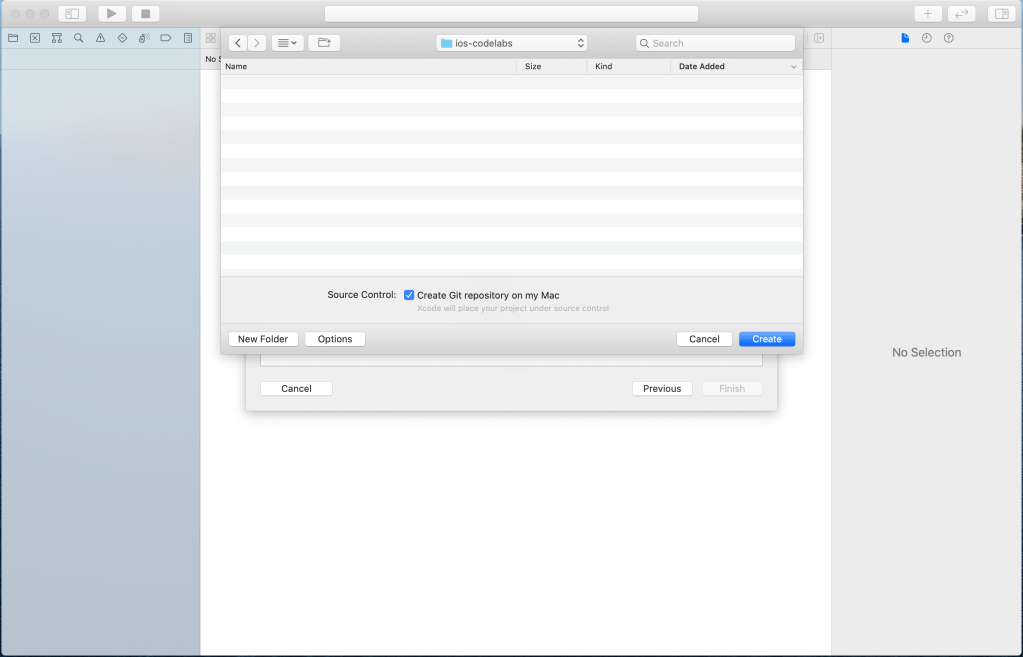
Choose a directory in which you want to save your iOS project.
If you have correctly followed the steps above, you should now have an iOS project.
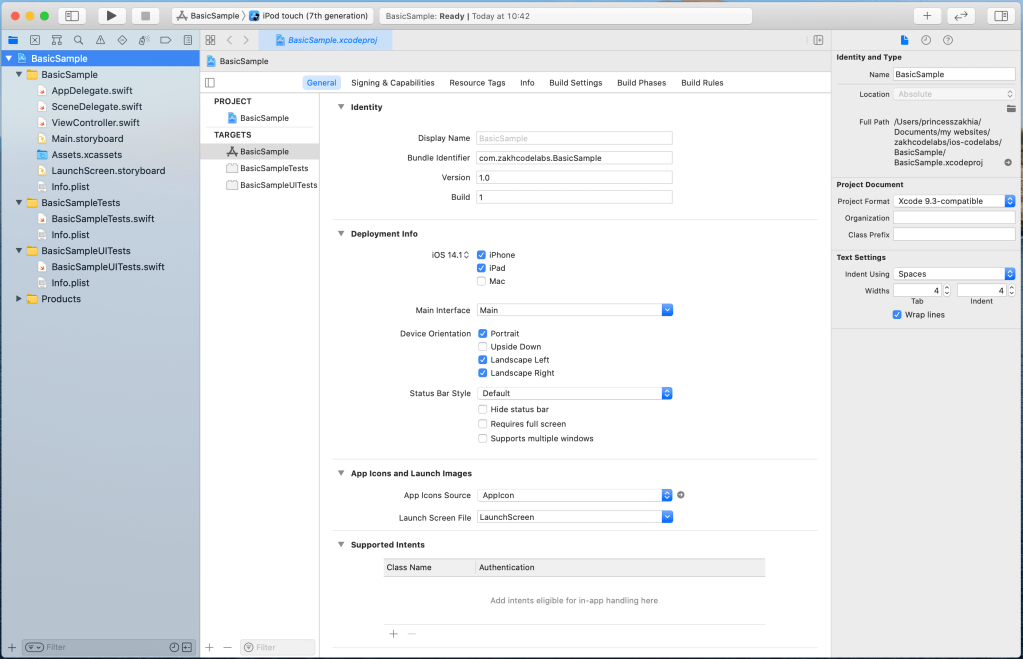
The Xcode IDE comprises of a toolbar (top), a navigator area (left), an editor area (middle) and an inspector area (right). The toolbar of Xcode comprises of 7 components.

- Hide or show the Navigator
- Build and then run the current scheme
- Stop the running scheme or application
- Set the active scheme
- Library
- Show or hide Code Review
- Hide or show the inspectors
The navigator area of Xcode comprises of 9 components.

- Show the Project navigator
- Show the Source Control navigator
- Show the Symbol navigator
- Show the Find navigator
- Show the Issue navigator
- Show the Test navigator
- Show the Debug navigator
- Show the Breakpoint navigator
- Show the Report navigator
The editor area comprises of 5 top components.

- Navigate to Related Items
- Go Back
- Go Forward
- Adjust Editor Options
- Add Editor on Right
The editor area comprises of 5 bottom components.
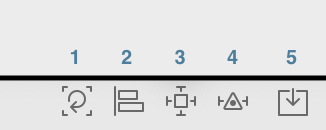
- Update Frames
- Align
- Add New Constraints
- Resolve Auto Layout Issues
- Embed In
The inspector area comprises of 7 components.

- Show the File inspector
- Show the History inspector
- Show Quick Help inspector
- Show the Identity inspector
- Show the Attributes inspector
- Show the Size inspector
- Show the Connections inspector
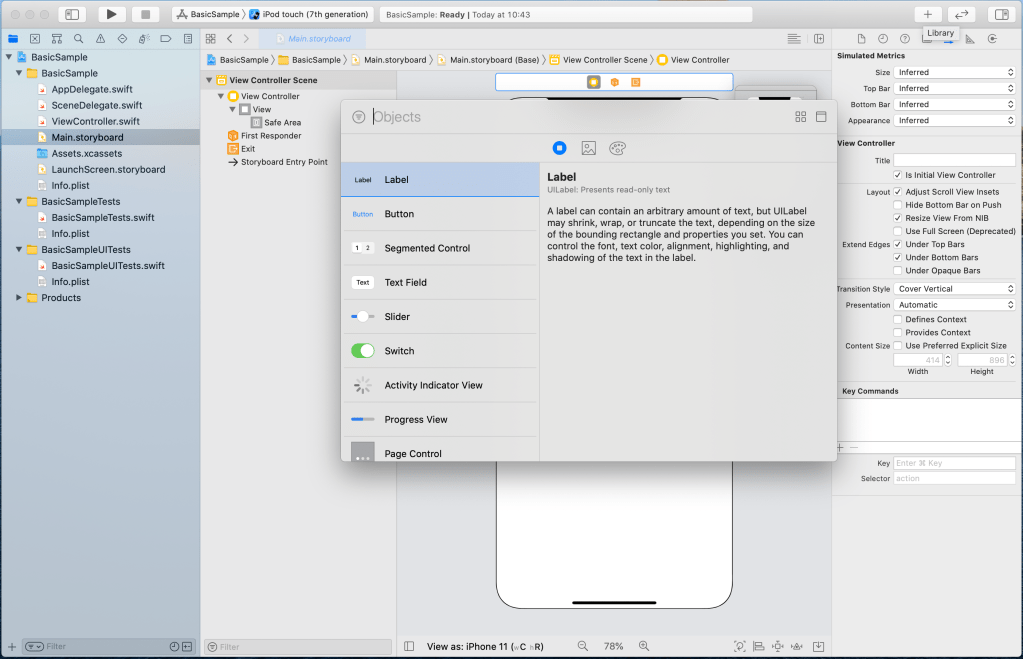
Select the file Main.storyboard, you will design your app’s UI in it. In the left of your editor for the Main.storyboard file, select View Controller Scene and then click on Library (toolbar). You will get a list of some UI objects that you can choose from. Just click the Label and drag it to the iPhone’s screen you see in the editor.
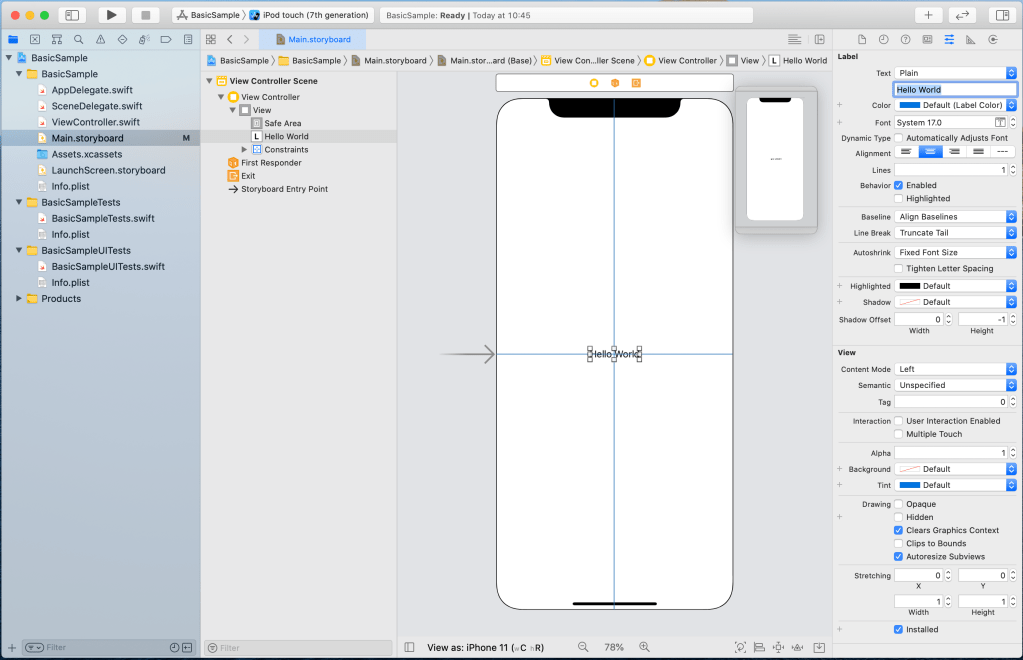
We want the label to be in the center of the screen. Just drag the label in the center of the screen and click on Align (editor bottom right). Then check both the Horizontally in Container and Vertically in Container and click on Add 2 Constraints.

If you did the previous step correctly, you should have your constraints added as shown below.
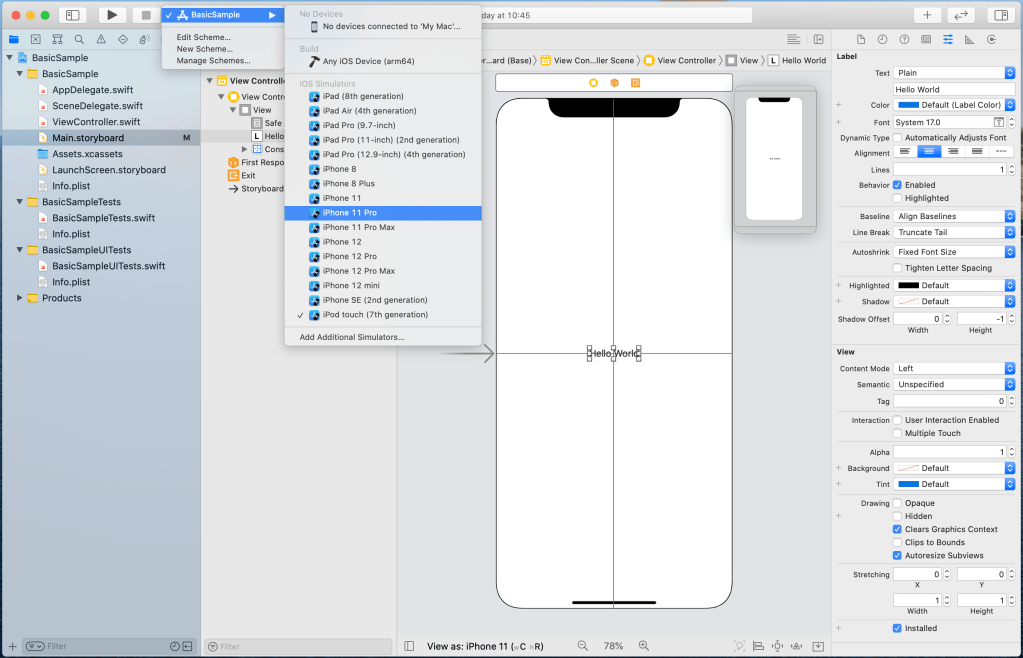
At the top left of Xcode, set an active scheme (toolbar) by clicking on BasicSample then select iPhone 11 Pro from the iOS Simulators. Then run the current scheme (toolbar) by clicking on the run button.
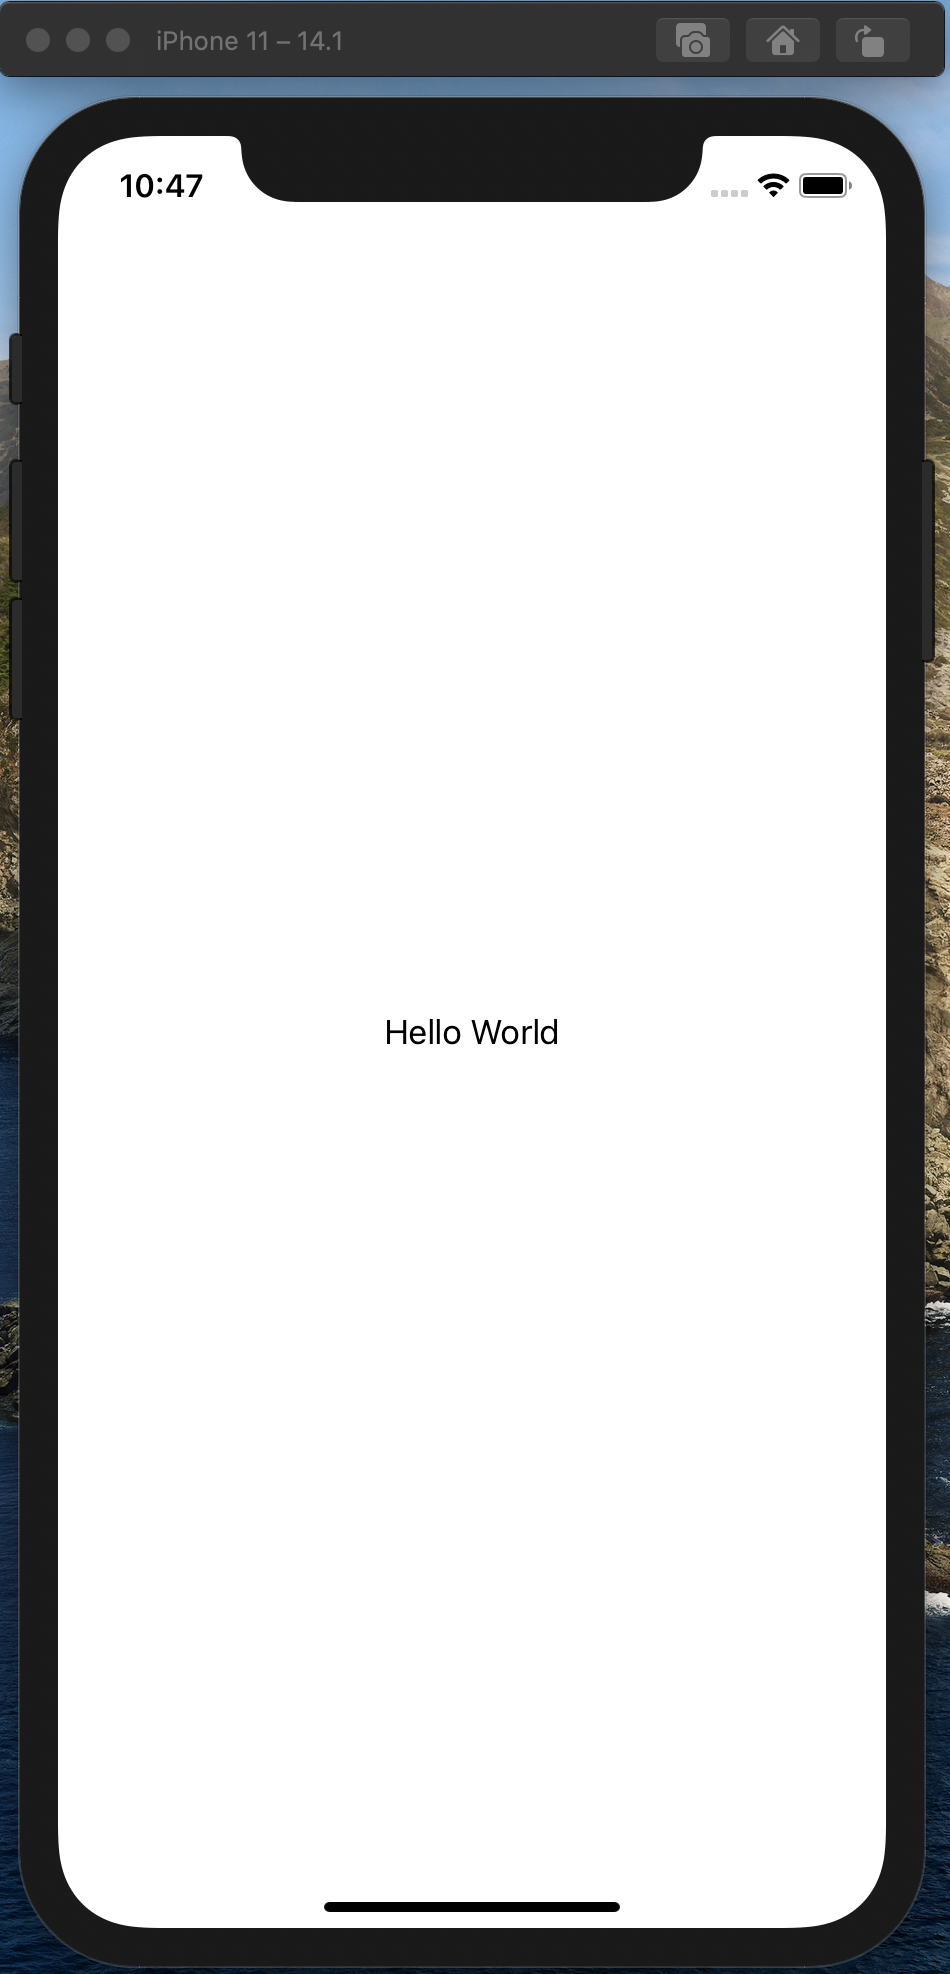
Xcode will launch the iPhone 11 Pro Simulator and you will see the text Hello World displayed in the center of the simulator.
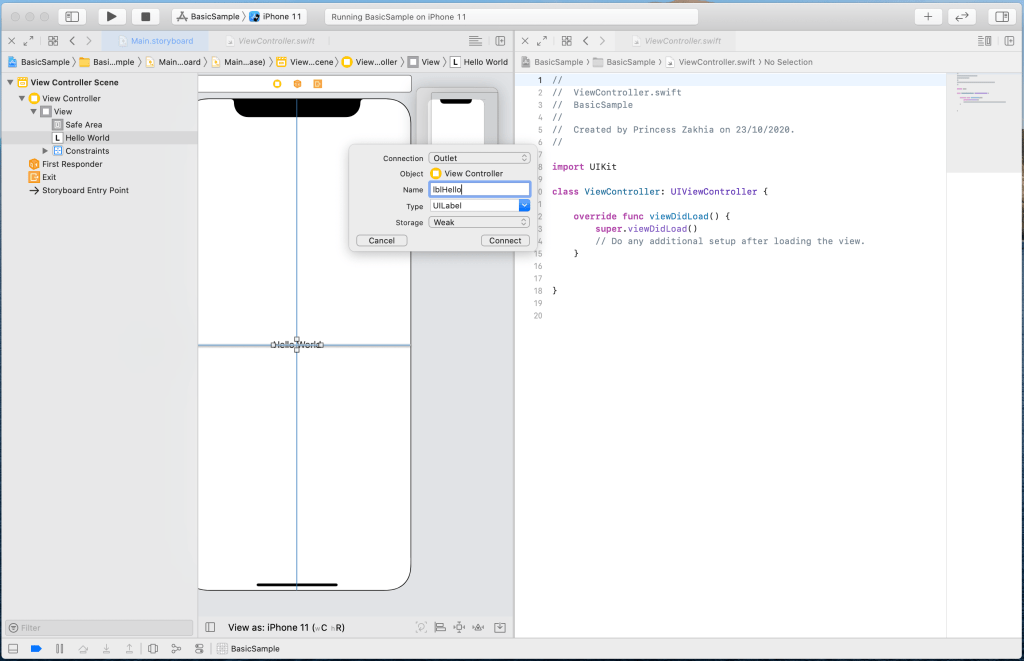
Our app is displaying the text we wrote in the design of our ViewControllerScene in Main.storyboard. We can change the text in our ViewController class file. To do so, we should connect the label in our ViewControllerScene to our ViewController class file. Make sure your editor is showing Main.storyboard, then add another editor on right and select the ViewController class file. Press the control button of your keyboard and drag the label from the ViewControllerScene to the ViewController class file, type the name lblHello and click Connect.
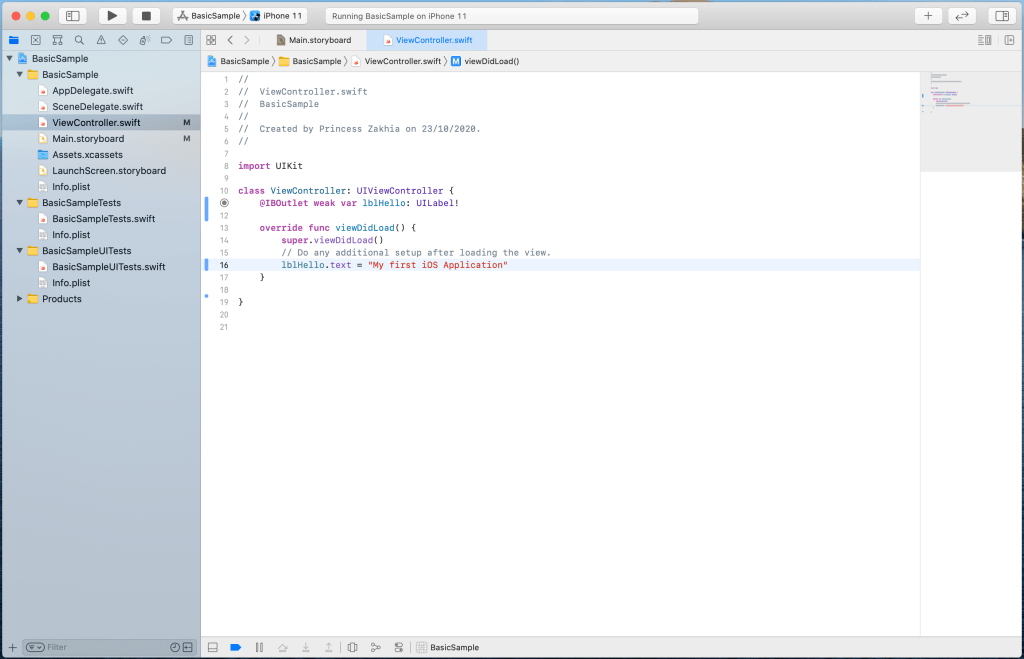
If you connected the label correctly, you should see the connection as shown below. Inside the method viewDidLoad(), set the text of the label to “My first iOS Application”.
Run the application to see the new text displayed.

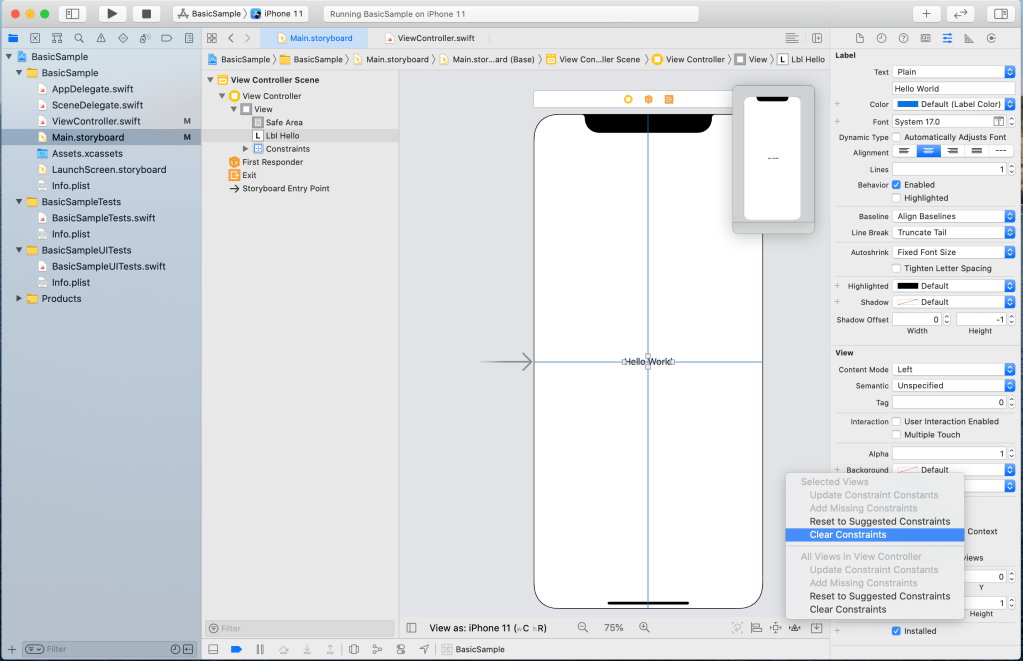
Now we want to change the text by clicking on a button. Let’s clear the constraints of our label first.
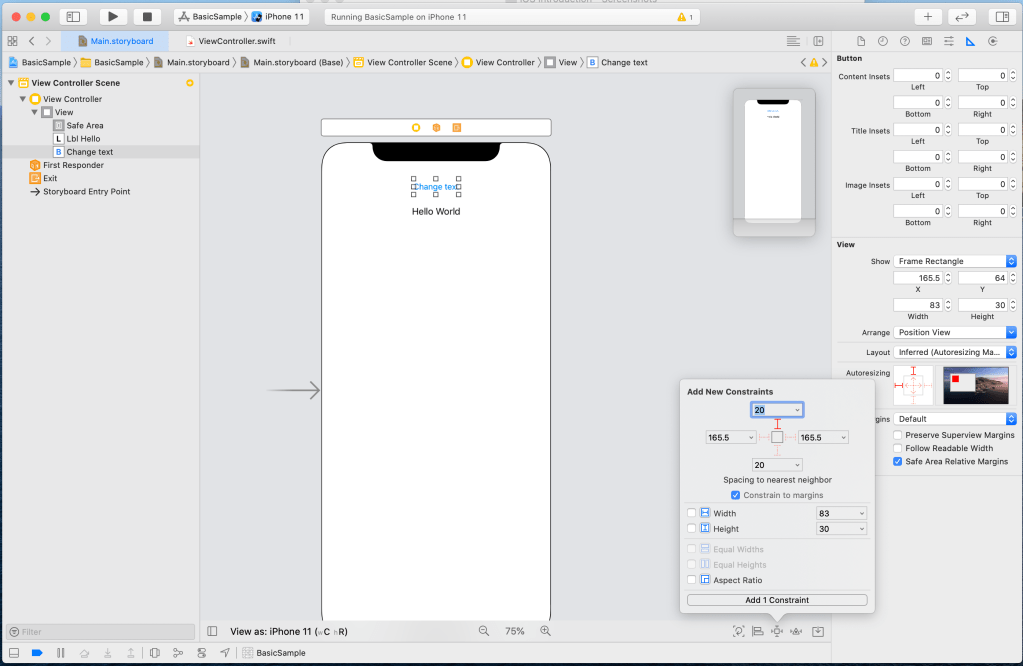
Let’s add a button on top of the screen and drag the label below it. Then select the button and add new constraints.
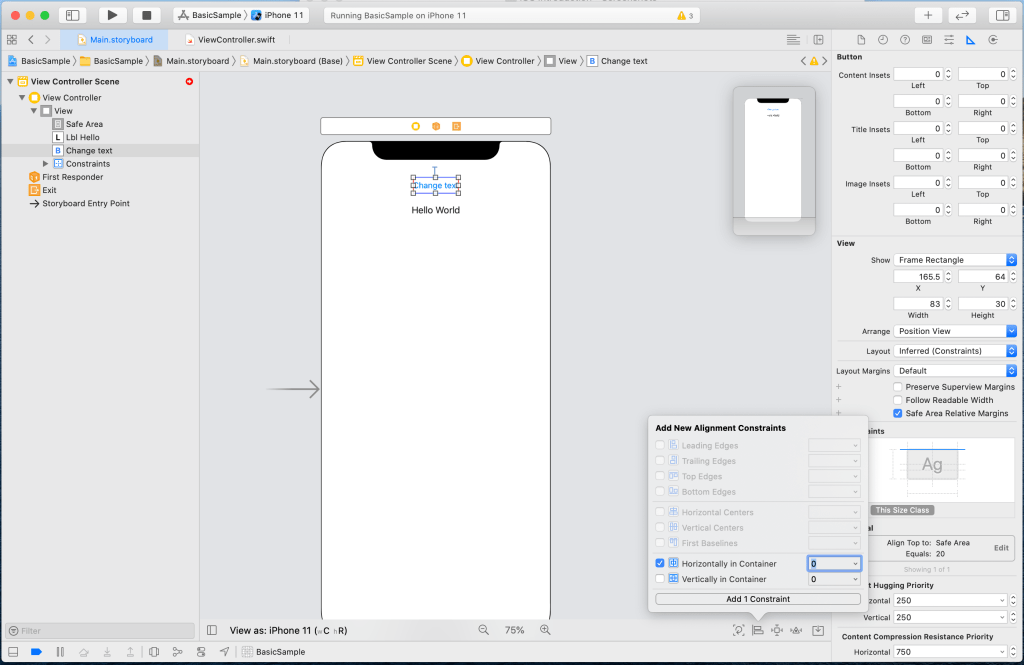
Let’s center align the button.
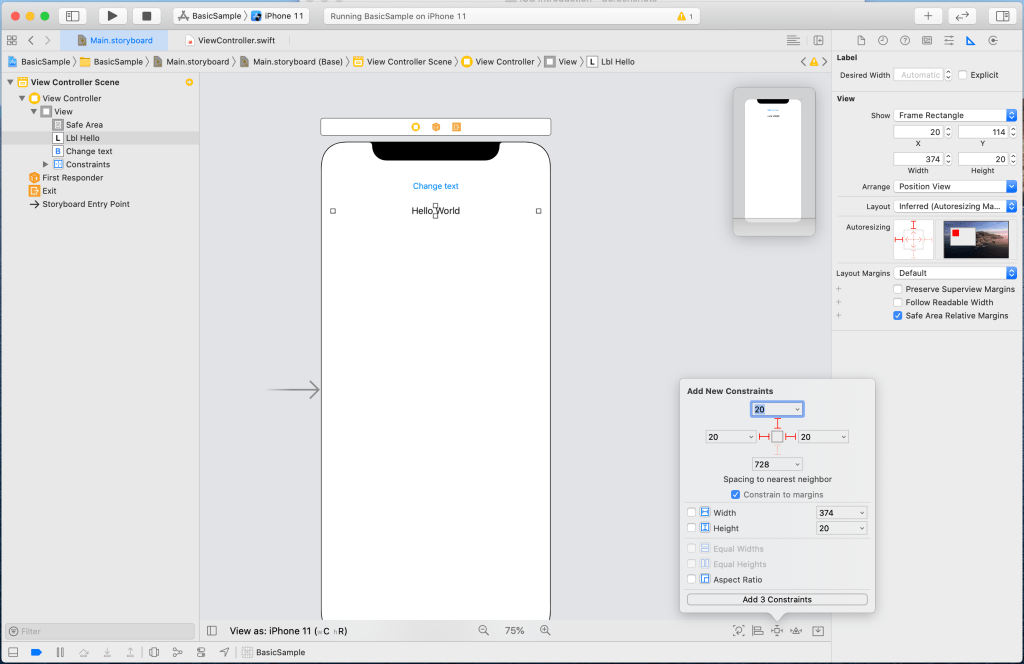
Let’s add constraints for our label.
Let’s connect an action method for the button to our ViewController class.
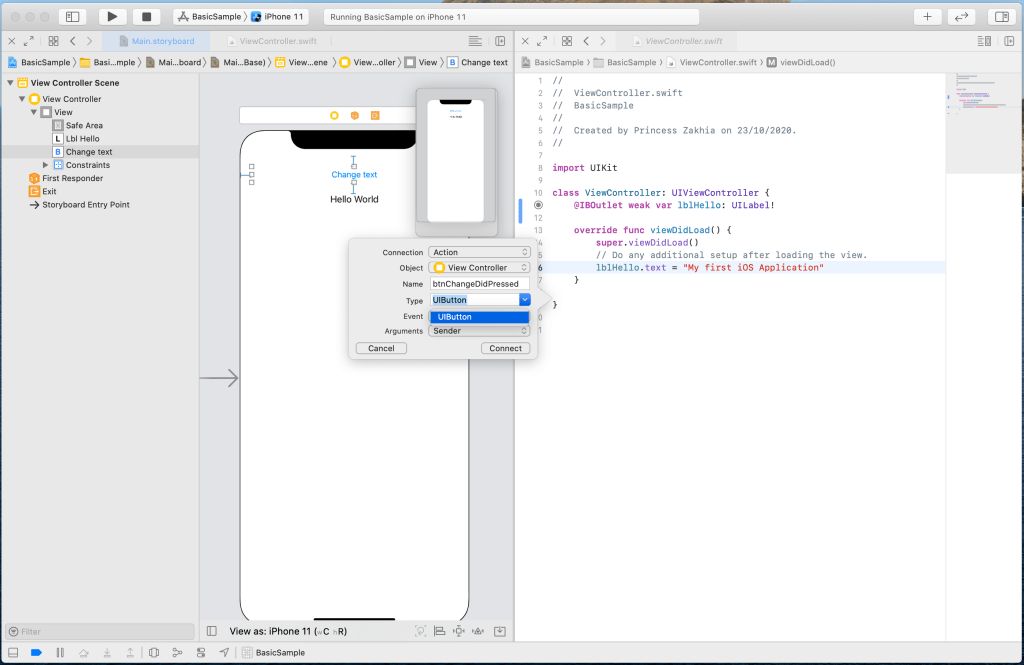
Inside our action method, let’s change the text of our label.

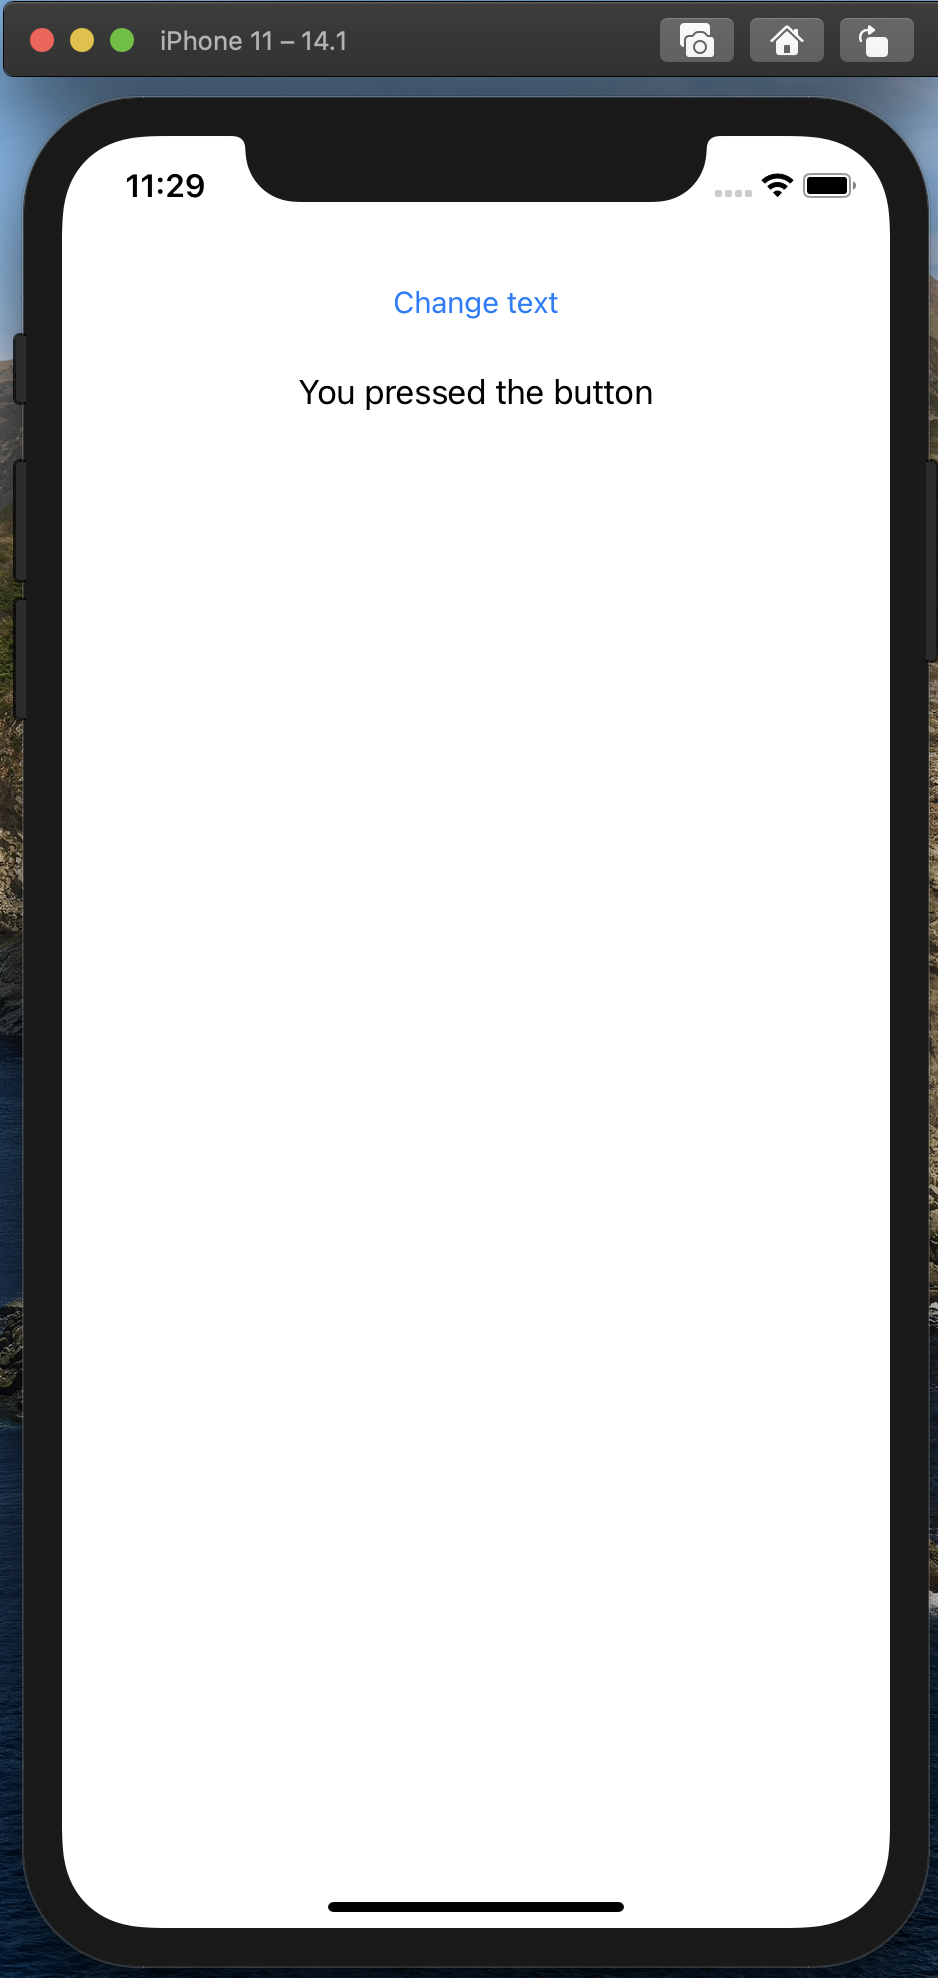
Run the application. You should see the text My first iOS Application displayed and clicking on the button should change it to You pressed the button.
Well done! You just created your first app! 😀

You must be logged in to post a comment.