In this tutorial you will learn how to display a list in a UITableView. To start learning iOS Application Development, you will need a Mac computer and Xcode, Apple’s Integrated Development Environment (IDE). This tutorial makes use of the Swift Programming Language. Hence before diving into iOS application development, it is recommended to have at least a basic knowledge of the Swift Programming Language.
UITableView
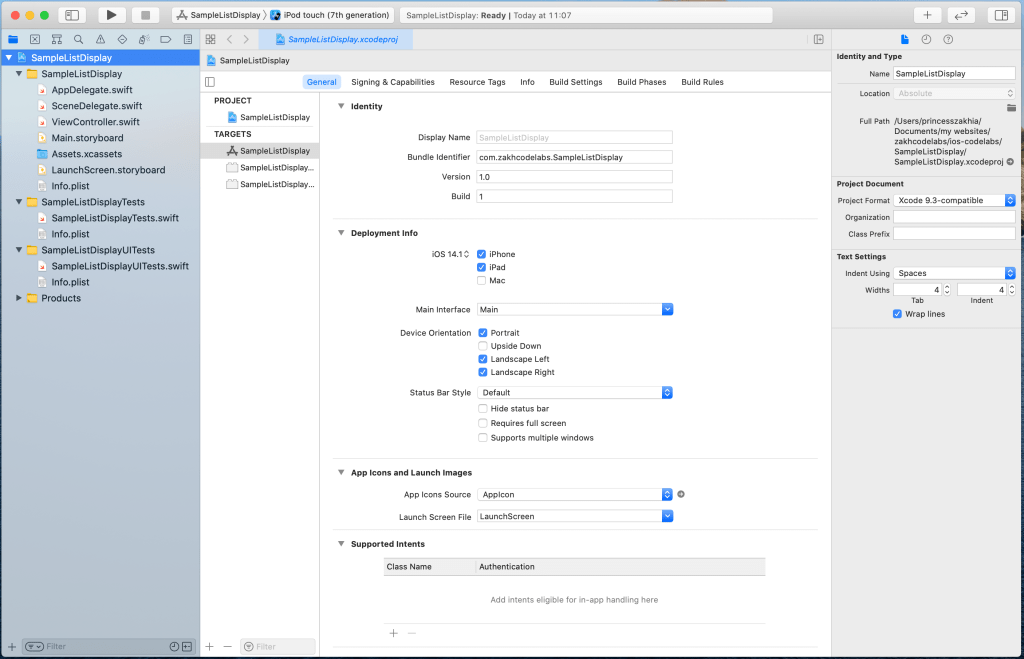
We will display a list of some fruits in a UITableView. Open Xcode, create an iOS app just like we did in our previous example and name the project SampleListDisplay.
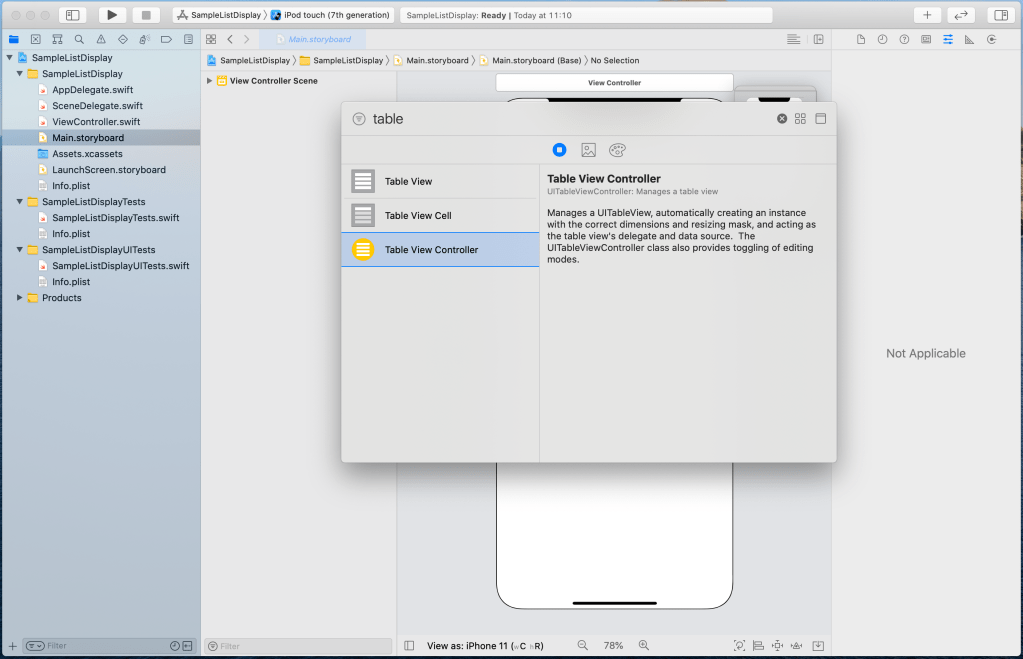
Now select the Main.storyboard file and open the Library. Select the TableViewController and drag it in the editor.
In addition to the ViewControllerScene, we now have a TableViewControllerScene in our editor. Notice that we have an arrow pointed to the ViewControllerScene. This arrow indicates that the ViewControllerScene is the entry point to our application, which means that when we launch our app, just after the LaunchScreen.storyboard disappears, it is this ViewControllerScene that appears.

We do not need it in our case, so we may delete it from our Main.storyboard. Before deleting it though, we should make our TableViewControllerScene our initial view controller. To achieve this you can either drag that pointed arrow from the ViewControllerScene to the TableViewControllerScene or select the TableViewControllerScene and select the Attributes Inspector in the inspector area then check the Is Initial View Controller.

Now that we changed our initial view controller to TableViewControllerScene, we can delete the ViewControllerScene. Just select the ViewControllerScene and press delete on your keyboard. You should now have only the TableViewControllerScene in your Main.storyboard.

The TableViewControllerScene is a subclass of the UIViewController and manages a UITableView. In order to populate data in our UITableView, we should create a subclass of the UITableViewController. In the navigator area, right-click on the project’s subfolder SampleListDisplay and then select New File….

Select Cocoa Touch Class and then click Next.

Name the class FruitListController and select the UITableViewController as subclass and then click Next.

Click Create.

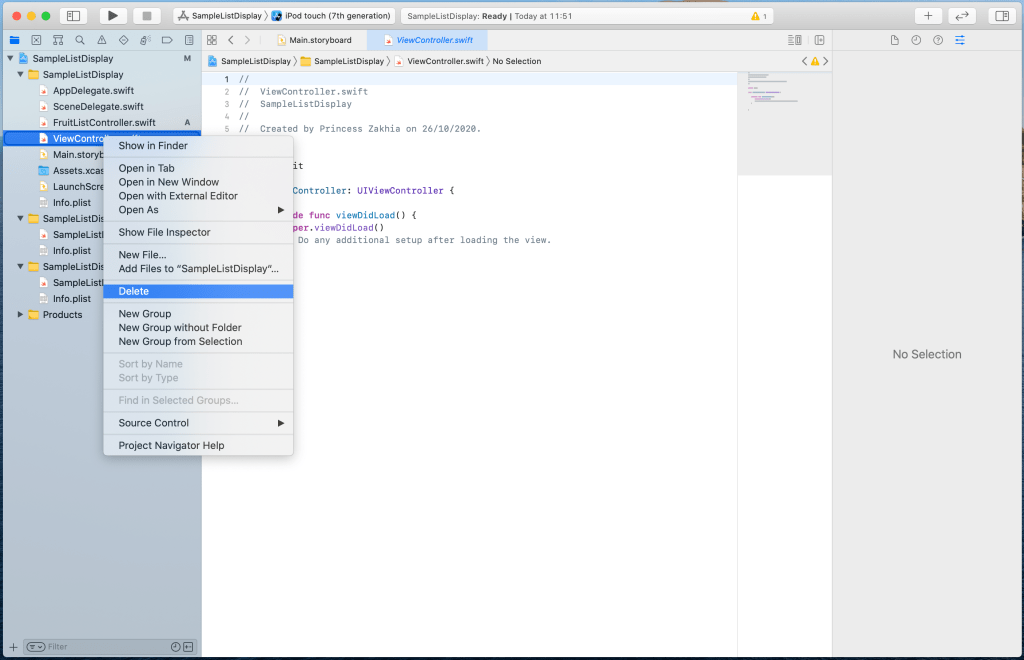
We do not need the file ViewController. So delete the file ViewController by right-clicking it and selecting Delete.
Click on Move to Trash.

Select Main.storyboard, select TableViewControllerScene, then click on the identity inspector in the inspector area and select FruitListController as the class.

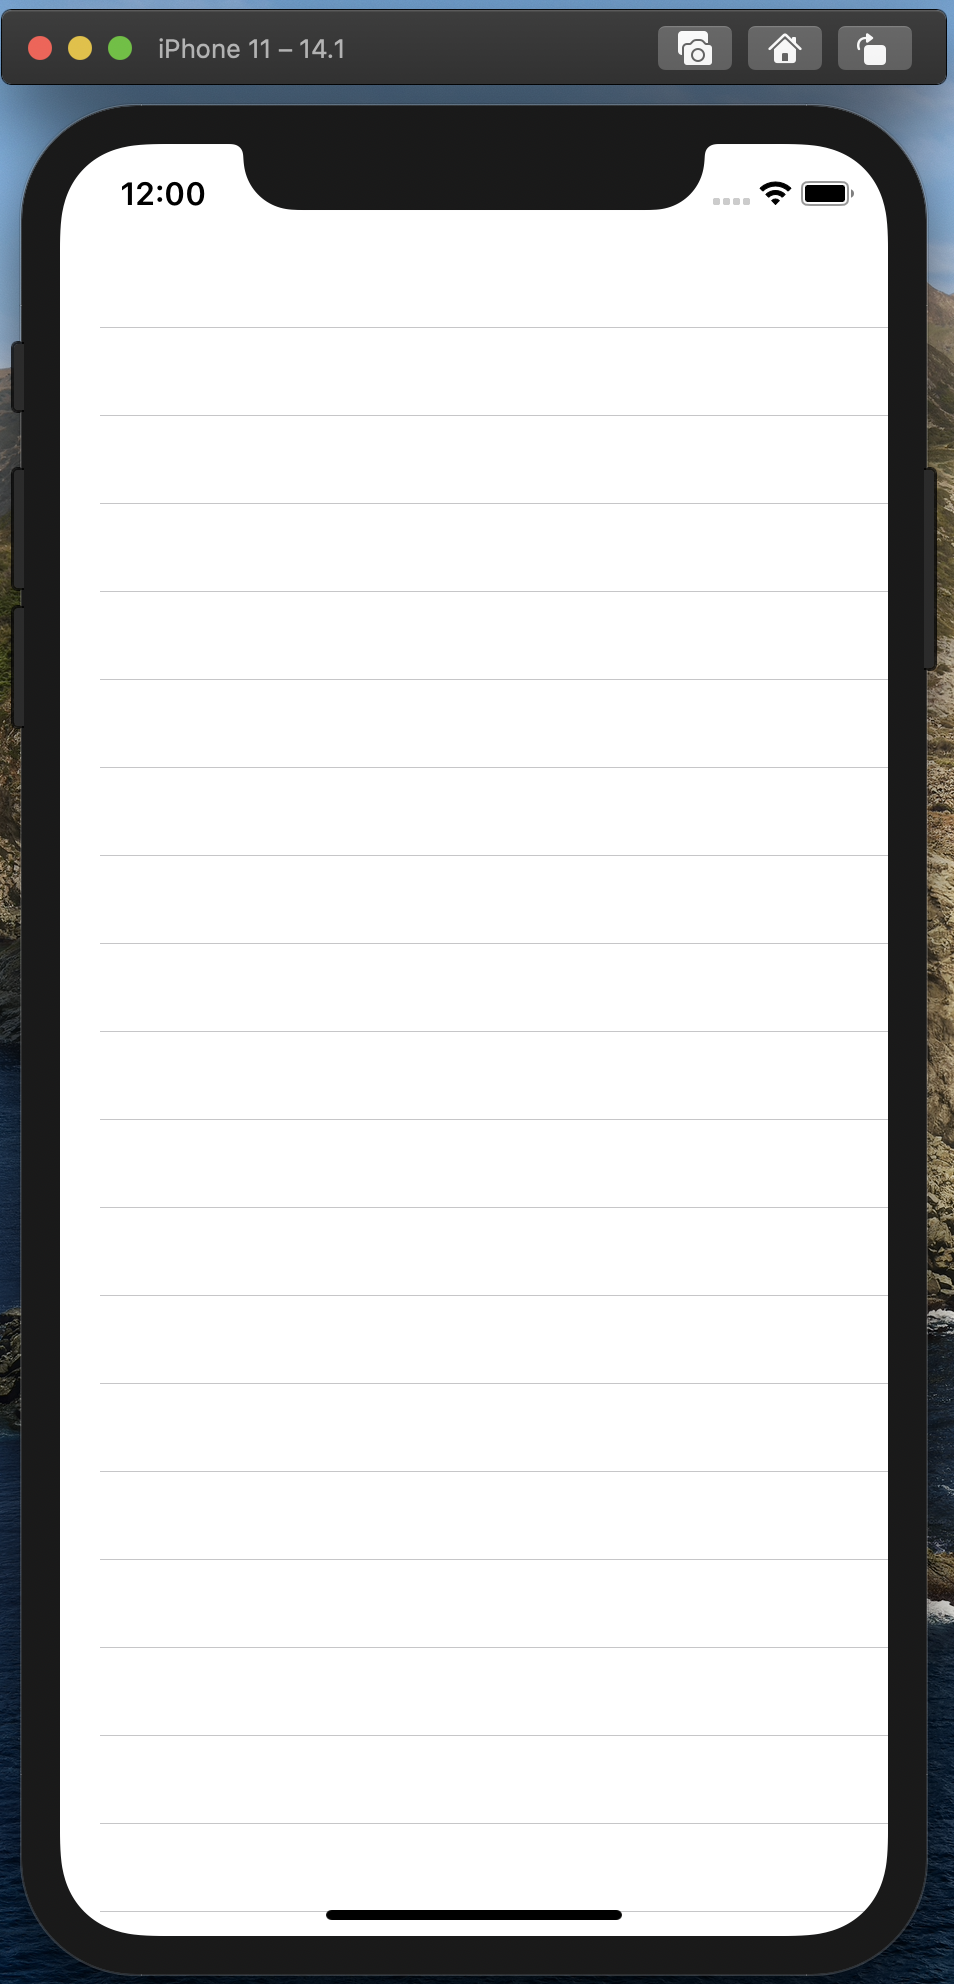
Run the application. You will see an empty UITableView in action.
Select the Main.storyboard, then select the FruitListControllerScene. Click on the down arrow on the left of FruitListControllerScene to reveal the FruitListController, then do the same for the FruitListController to reveal the TableView, then do it again on the TableView to reveal the TableViewCell and then click on the TableViewCell. Select the Attributes Inspector in the inspector area and type FruitCell as the Identifier. We will use this identifier in our code.

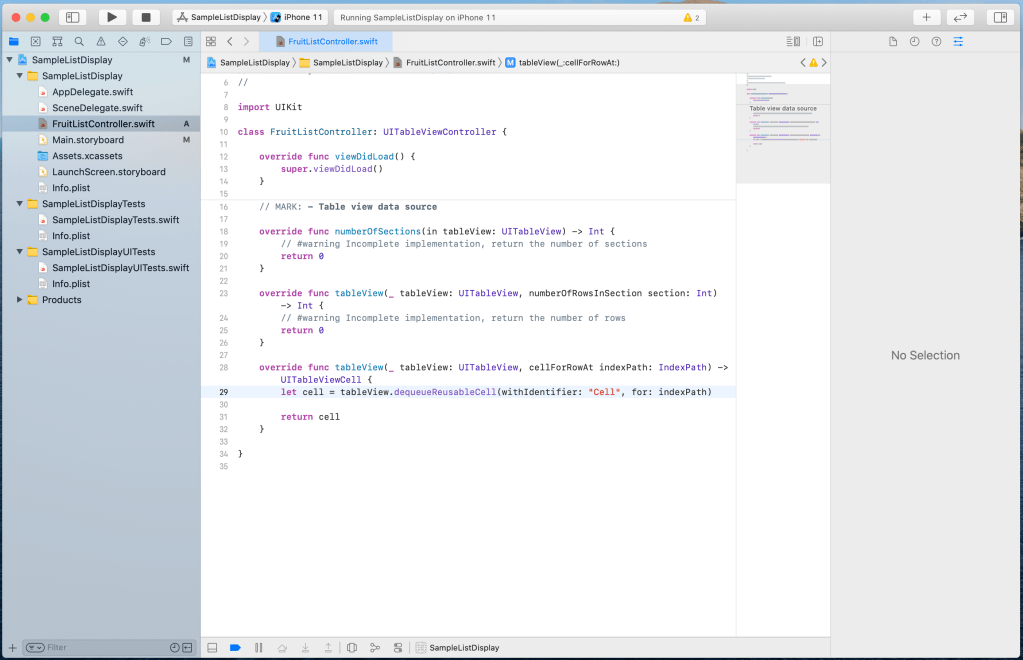
It’s time to populate our UITableView. Select the FruitListController class file and remove all the unnecessary codes so that it looks like the following:
Let’s write some codes to display our list of fruit. Copy the codes below in your FruitListController class file.
import UIKit

class FruitListController: UITableViewController {
    // 1
    let fruits = ["Apple", "Banana", "Orange", "Pineapple", "Grape", "Kiwifruit", "Pears", "Grapefruit", "Clementine", "Peach", "Apricot", "Plum", "Mango", "Strawberry", "Blueberry", "Raspberry", "Blackberry", "Cranberry", "Passionfruit", "Watermelons", "Cantaloupe", "Carambola", "Custard-Apple", "Date Fruit", "Guava", "Lemon", "Lychee", "Longan", "Papaya", "Dragonfruit", "Pomegranate", "Tamarind"]

    override func viewDidLoad() {
        super.viewDidLoad()
    }

    // MARK: - Table view data source

    // 2
    override func numberOfSections(in tableView: UITableView) -> Int {
        return 1
    }

    // 3
    override func tableView(_ tableView: UITableView, numberOfRowsInSection section: Int) -> Int {
        return fruits.count
    }

    // 4
    override func tableView(_ tableView: UITableView, cellForRowAt indexPath: IndexPath) -> UITableViewCell {
        let cell = tableView.dequeueReusableCell(withIdentifier: "FruitCell", for: indexPath)

        let fruit = fruits[indexPath.row]
        cell.textLabel?.text = fruit

        return cell
    }

}
In the FruitListController class,
- we declared an array of String to represent our fruit list.
- we are returning only 1 section for our tableView.
- we are returning the number of fruits found in our array fruits.
- we are returning a cell of type UITableViewCell to display in each row of our tableView.
- The identifier FruitCell is used to create the cell.
- The indexPath comprises of a section and a row, both of types Int. We get the respective fruit by a subscript of fruits with the index being indexPath.row.
- We declared a constant fruit to hold the item found in our fruit list at a specified index.
Run the application to see our fruit list displayed in our tableView.

Well done! 😀 You created an app to display a list. Awesome! 😀

You must be logged in to post a comment.