In this tutorial you will learn how to display a list in a UITableView using a custom cell. To follow along it is recommended to follow the previous tutorial of displaying a list in a UITableView or you can download the previous iOS project. To start learning iOS Application Development, you will need a Mac computer and Xcode, Apple’s Integrated Development Environment (IDE). This tutorial makes use of the Swift Programming Language. Hence before diving into iOS application development, it is recommended to have at least a basic knowledge of the Swift Programming Language.
UITableView with Custom Cell
In our previous tutorial we displayed a fruit list in a UITableView using a default UITableViewCell. In this tutorial, we are going to design a custom cell with a UIImageView to display our fruit’s image and a UILabel to display our fruit’s name.
In the navigator area, right-click on the project’s subfolder SampleListDisplay and then select New File…. Select Cocoa Touch Class and then click Next. Type in FruitCell as the name of the class and select UITableViewCell as the subclass. Click Next.

Click Create. You should now have a FruitCell class inheriting from the UITableViewCell.

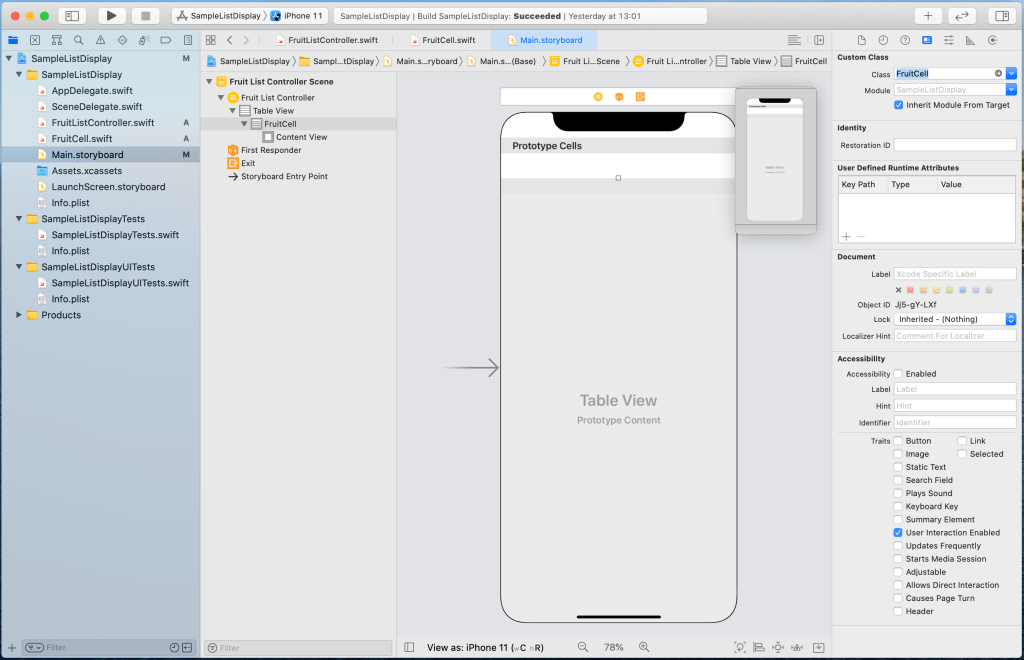
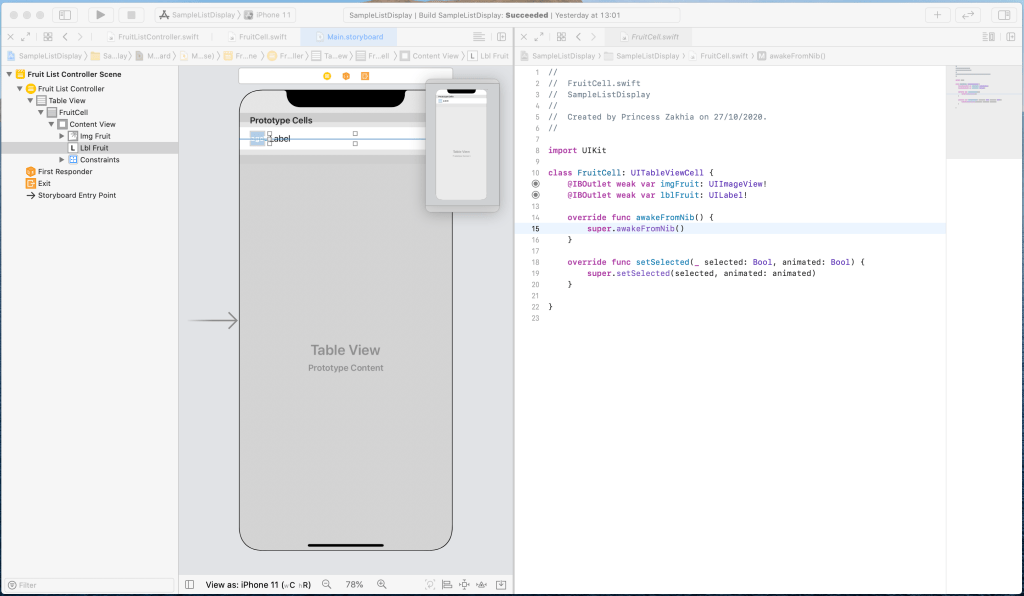
Now select Main.storyboard and then the FruitCell found under the TableView of the FruitListController in the editor. Once you’ve selected FruitCell, select the Identity Inspector in the Inspector area then select FruitCell as the class.
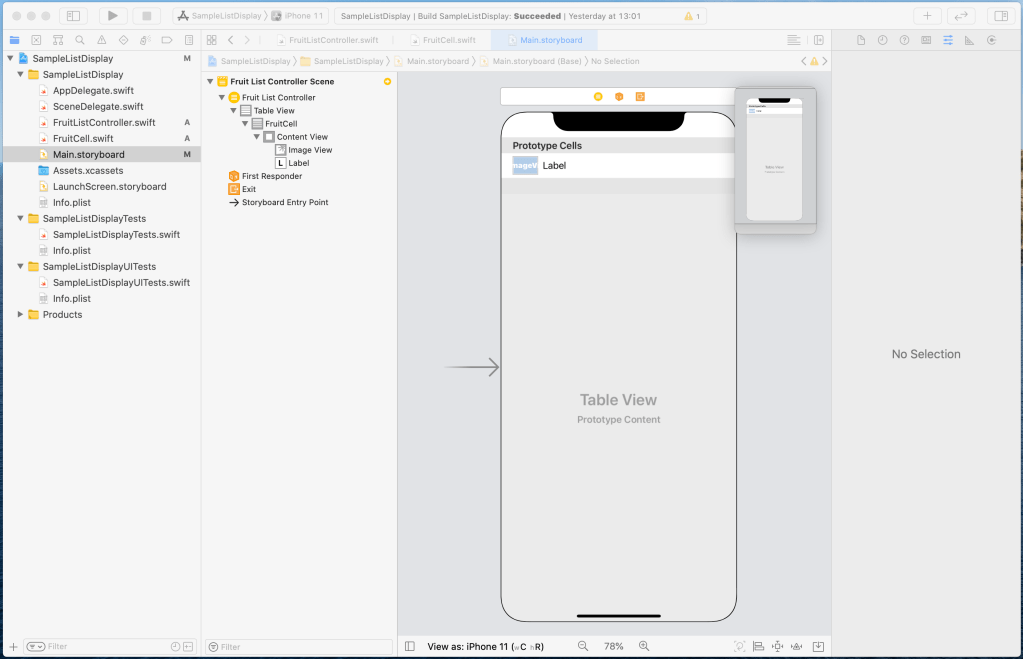
Now let’s design our custom cell. Choose a UIImageView from the Library and drag it under the ContentView found under the FruitCell. Then do the same for a UILabel. Resize the UIImageView to fit the ContentView. Drag both the UIImageView and the UILabel to be vertically horizontal. Make sure your design is as the following:
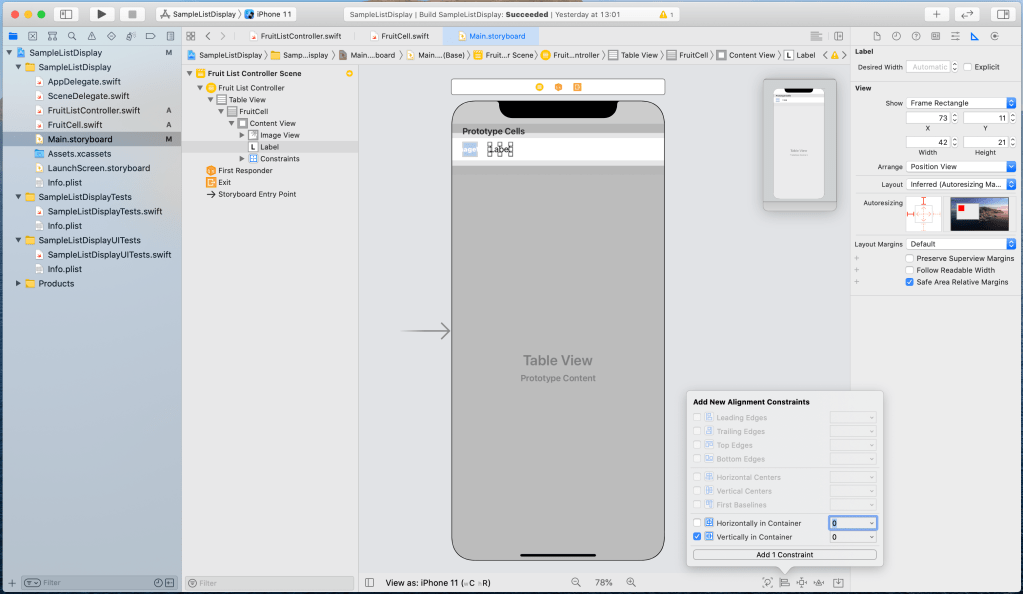
Let’s add some constraints to our UIImageView. Click on the Align in the bottom of the editor area, check the Vertically in Container and then click on Add 1 Constraint. This will keep the UIImageView centred vertically in the FruitCell.

Now let’s make sure that our UIImageView keeps a left spacing in the FruitCell and has a height of 30 with an aspect ratio. Just click on Add 3 Constraints once you adjusted the constraints as the following:

We want the aspect ratio to be 1:1. So with the UIImageView still selected, click on the Size Inspector in the Inspector area and adjust the aspect ratio by clicking on Edit next to the aspect ratio‘s constraint and change the Multiplier to 1:1 and then press enter on your keyboard.

Let’s add some constraints to our UILabel. Click on the Align in the bottom of the editor area, check the Vertically in Container and then click on Add 1 Constraint. This will keep the UILabel centred vertically in the FruitCell.
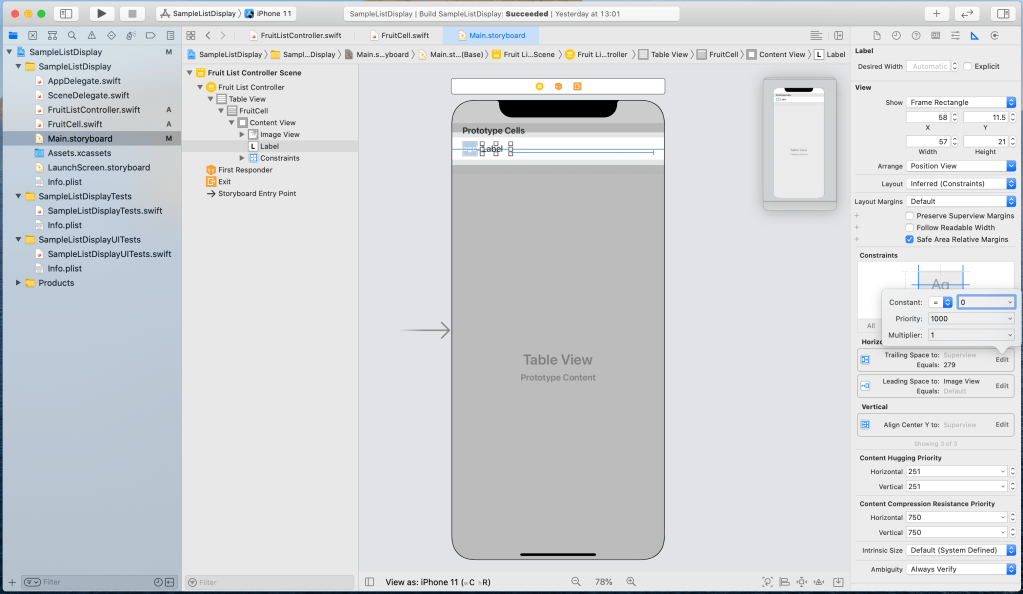
We want the UILabel to be in the right of the UIImageView with a default spacing and to keep a right spacing in the FruitCell. Just click on Add 2 Constraints once you adjusted the constraints as the following:

We want a default right spacing. So with the UILabel still selected, click on the Size Inspector in the Inspector area and adjust the Trailing Space by clicking on Edit next to the Trailing Space‘s constraint, change the Constant to 0 and then press enter on your keyboard.
Let’s connect the UIImageView and the UILabel to our custom class FruitCell. Add an editor on the right and then navigate to the FruitCell class on the right.

While pressing control on your keyboard, drag the UIImageView from the FruitCell in the Main.storyboard to the FruitCell class and name it to imgFruit. Do the same with the UILabel and name it to lblFruit. You should have two connected IBOutlet like the following:
In Xcode select the file Assets.xcassets and control-drag all the fruit images from Finder to the editor area.

Now select the FruitListController, and copy and paste the codes below:
import UIKit

class FruitListController: UITableViewController {
    // 1
    let fruits: [(name: String, image: UIImage?)] = [
        ("Apple", UIImage(named: "icon_apple")), ("Banana", UIImage(named: "icon_banana")), ("Orange", UIImage(named: "icon_orange")), ("Pineapple", UIImage(named: "icon_pineapple")),
        ("Grape", UIImage(named: "icon_grape")), ("Kiwifruit", UIImage(named: "icon_kiwi")), ("Pear", UIImage(named: "icon_pear")), ("Grapefruit", UIImage(named: "icon_grapefruit")),
        ("Peach", UIImage(named: "icon_peach")), ("Apricot", UIImage(named: "icon_apricot")), ("Plum", UIImage(named: "icon_plum")), ("Mango", UIImage(named: "icon_mango")),
        ("Strawberry", UIImage(named: "icon_strawberry")), ("Blueberry", UIImage(named: "icon_blueberry")), ("Raspberry", UIImage(named: "icon_raspberry")), ("Blackberry", UIImage(named: "icon_blackberry")),
        ("Cranberry", UIImage(named: "icon_cranberry")), ("Passionfruit", UIImage(named: "icon_passion_fruit")), ("Watermelon", UIImage(named: "icon_watermelon")),
        ("Cantaloupe", UIImage(named: "icon_cantaloupe")), ("Date Fruit", UIImage(named: "icon_date_fruit")), ("Lemon", UIImage(named: "icon_lemon")), ("Lychee", UIImage(named: "icon_lychee")),
        ("Papaya", UIImage(named: "icon_papaya")), ("Dragonfruit", UIImage(named: "icon_dragon_fruit")), ("Pomegranate", UIImage(named: "icon_pomegranate"))
    ]

    override func viewDidLoad() {
        super.viewDidLoad()
    }

    // MARK: - Table view data source

    // 2
    override func numberOfSections(in tableView: UITableView) -> Int {
        return 1
    }

    // 3
    override func tableView(_ tableView: UITableView, numberOfRowsInSection section: Int) -> Int {
        return fruits.count
    }

    // 4
    override func tableView(_ tableView: UITableView, cellForRowAt indexPath: IndexPath) -> UITableViewCell {
        guard let cell = tableView.dequeueReusableCell(withIdentifier: "FruitCell", for: indexPath) as? FruitCell
        else { return UITableViewCell() }

        let fruit = fruits[indexPath.row]
        cell.lblFruit.text = fruit.name

        if let image = fruit.image {
            cell.imgFruit.image = image
        }

        return cell
    }

}
In the FruitListController class,
- we declared an array of tuples of type String to represent our fruit list.
- we are returning only 1 section for our tableView.
- we are returning the number of fruits found in our array fruits.
- we are returning a cell of the custom type FruitCell to display in each row of our tableView.
- The identifier FruitCell is used to create the cell.
- The indexPath comprises of a section and a row, both of types Int. We get the respective fruit by a subscript of fruits with the index being indexPath.row.
- We declared a constant fruit to hold the item found in our fruit list at a specified index.
Run the app. If you followed the instructions correctly, your app should display a list of fruit with its respective image.

Well done! 😀 You created an app to display a list with images. Awesome! 😀

You must be logged in to post a comment.