In this tutorial you will learn how to create a simple login form. To start learning iOS Application Development, you will need a Mac computer and Xcode, Apple’s Integrated Development Environment (IDE). This tutorial makes use of the Swift Programming Language. Hence before diving into iOS application development, it is recommended to have at least a basic knowledge of the Swift Programming Language.
Login Form
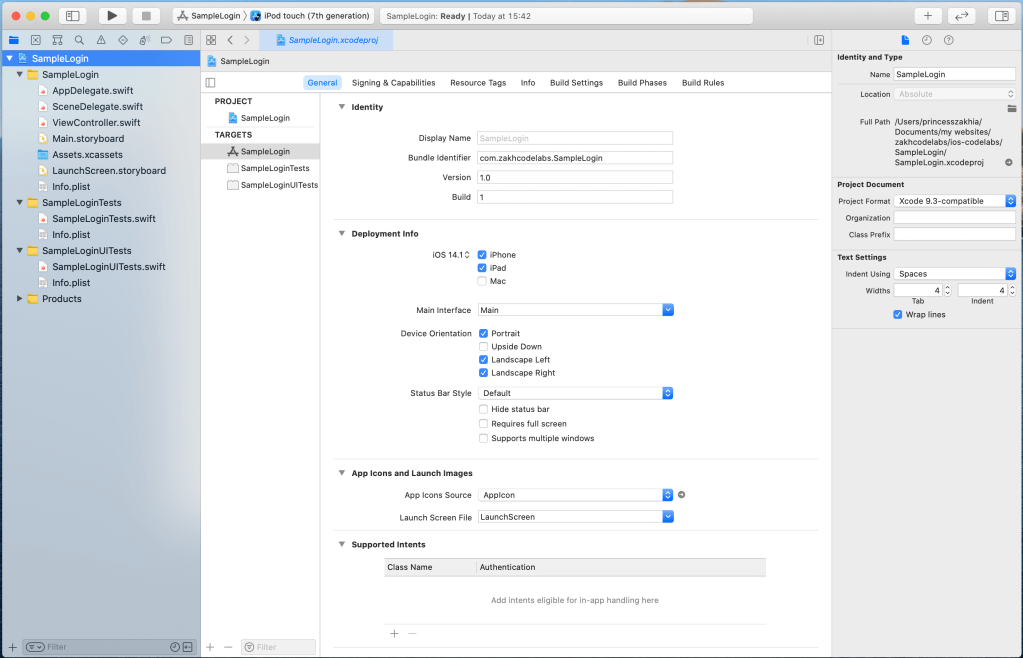
We will create a simple login form. Open Xcode and create a new project named SampleLogin.
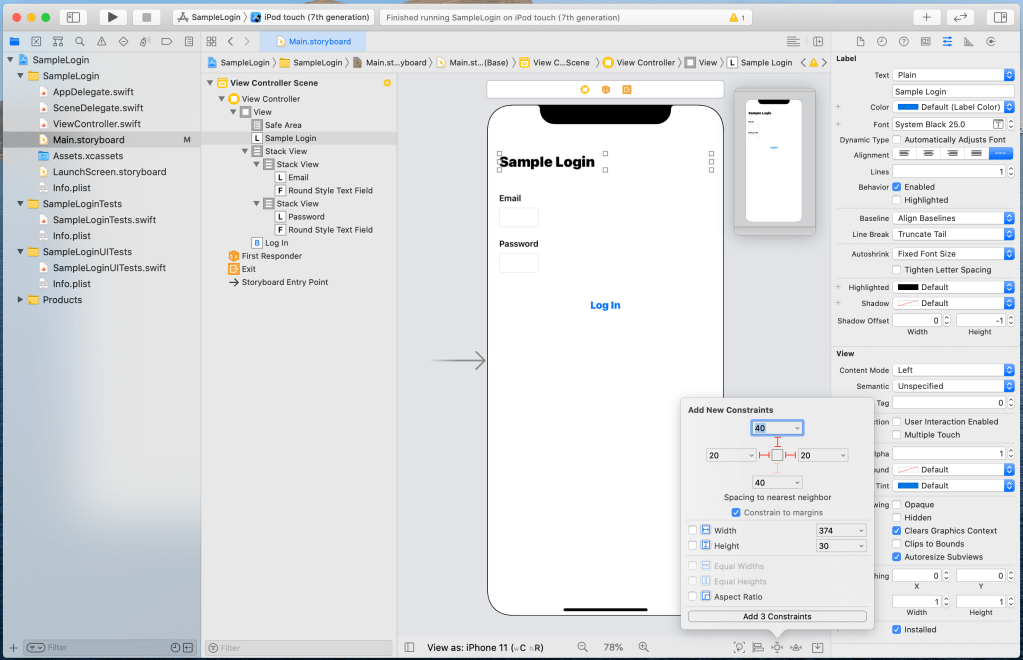
Select Main.storyboard, add 3 UILabel, 2 UITextField and 1 UIButton from the Library. Change the texts of the 3 labels to Sample Login, Email and Password. Change the text of the button to Log In. Change the fonts in the Attributes Inspector:
- Sample Login – Font (Style: Black, Size: 25.0)
- Email and Password – Font (Style: Semibold, Size: 15.0)
- Log In – Font(Style: Heavy, Size: 18.0)

Now let’s add some constraints. Select the Sample Login label, then add these constraints:
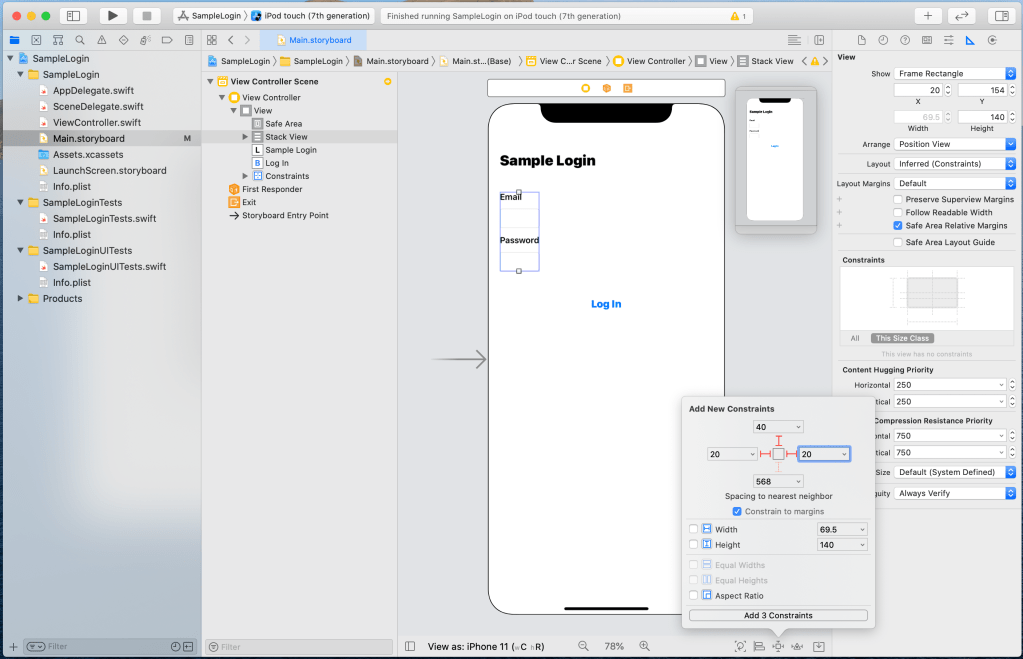
Now select the other labels and textfields, then embed them in a StackView.

Add the following constraints to the StackView:
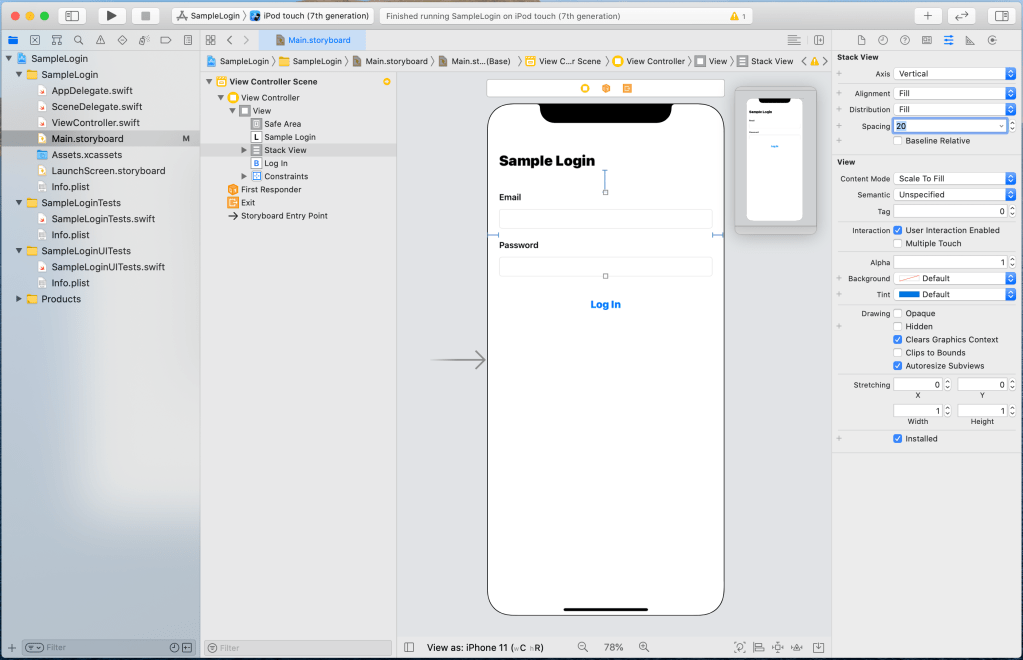
Select the StackView, then select the Attributes Inspector and change the Spacing to 20.
Now select the label Email and its corresponding textfield, then embed them in a StackView. Do the same with the Password and its corresponding textfield.

Then select each StackView and set its Spacing to Standard (Note that deleting the value from the Spacing field will set it to Standard, no additional value is needed).

Add a top constraint and then center-align the button.

Now select the textfield for Email, change its Content Type to Email Address, change the Return Key to Next and change the Keyboard Type to E-mail Address.

Then select the textfield for Password, change its Content Type to Password, change the Return Key to Done and check the Secure Text Entry.

Still in the Attributes Inspector, set the tag of the textfield Password to 1.

Run the project.

You will notice that when we are editing the email and password fields, the keyboard’s return type is next and done respectively. However, clicking on it, does nothing yet. Connect the textfields to the ViewController class. Also connect the button to an IBAction in the ViewController class.

Now copy and paste the following codes in your ViewController class file.
import UIKit

class ViewController: UIViewController {
    @IBOutlet weak var emailField: UITextField!
    @IBOutlet weak var passwordField: UITextField!

    override func viewDidLoad() {
        super.viewDidLoad()

        // 1
        emailField.delegate = self
        passwordField.delegate = self
    }

    // MARK: - IBAction

    @IBAction func logInDidPressed(_ sender: UIButton) {
        showAlert()
    }

    // 2
    private func showAlert() {
        guard let email = emailField.text, !email.isEmpty, email.count > 0 else { return }
        let alertController = UIAlertController(title: "Login", message: "You have pressed the Log In button! Your email address is \(email).", preferredStyle: .alert)
        let okAction = UIAlertAction(title: "OK", style: .default) { (_) in
            alertController.dismiss(animated: true, completion: nil)
        }

        alertController.addAction(okAction)

        emailField.resignFirstResponder()
        passwordField.resignFirstResponder()

        present(alertController, animated: true, completion: nil)
    }
}

// MARK: - UITextFieldDelegate

// 3
extension ViewController: UITextFieldDelegate {
    func textFieldShouldReturn(_ textField: UITextField) -> Bool {
        switch textField.tag {
        case 0:
            passwordField.becomeFirstResponder()
        case 1:
            showAlert()
        default:
            ()
        }
        return true
    }
}
In the ViewController‘s class,
- we have set the delegate to self. This delegate is of type UITextFieldDelegate.
- we are making sure that the field email has some text in it before showing an alert. Note that in a real app, you should check the validity of the email entered as well.
- we extended ViewController to conform to the UITextFieldDelegate. We implemented the function textFieldShouldReturn(_:) of this delegate to be able to catch the return key pressed action. We are checking the textfield’s tag to know which textfield is the first responder, to be able to run some codes accordingly.
If you run the app again, you should now see the return key pressed in action.

Well done! 😀 You created an app with a simple Login Form. Awesome! 😀

You must be logged in to post a comment.