In this tutorial you will learn how to build a simple to-do list app. To start learning iOS Application Development, you will need a Mac computer and Xcode, Apple’s Integrated Development Environment (IDE). This tutorial makes use of the Swift Programming Language. Hence before diving into iOS application development, it is recommended to have at least a basic knowledge of the Swift Programming Language.
UITableView with Dynamic Items
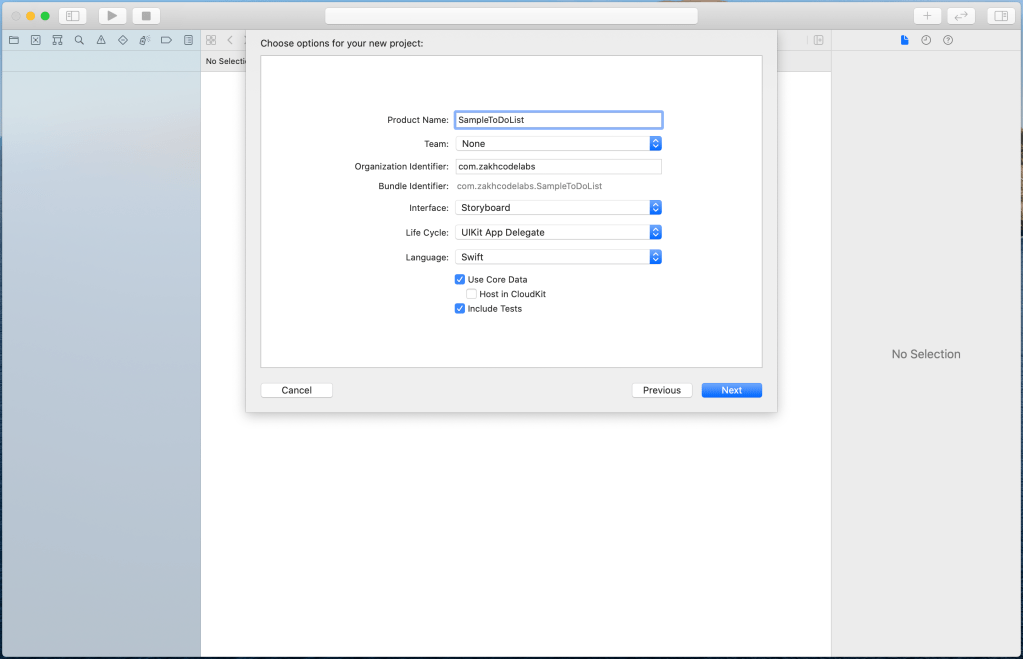
So far you learned how to populate static items in a UITableView. In this tutorial, you’ll build a simple to-do list app which makes use of a UITableViewController embedded in a UINavigationController. Create a new Xcode project and name it SampleToDoList. Make sure to check Use Core Data.
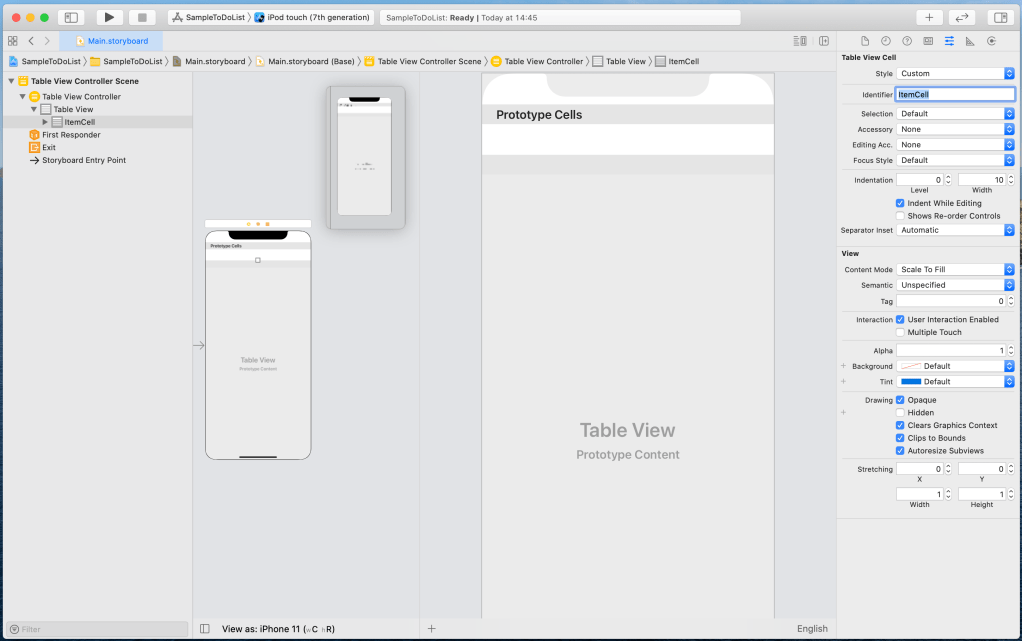
Then follow this tutorial to design a simple tableView. You should have a UITableViewController as your initial controller with ItemCell as your UITableViewCell‘s Identifier in your Main.storyboard.
Select the TableViewControllerScene in the Main.storyboard and embed it in a UINavigationController.

Create a new subclass of UITableViewController and name it ToDoListController.
class ToDoListController: UITableViewController {

    override func viewDidLoad() {
        super.viewDidLoad()
    }

    // MARK: - Table view data source

    override func numberOfSections(in tableView: UITableView) -> Int {
        return 0
    }

    override func tableView(_ tableView: UITableView, numberOfRowsInSection section: Int) -> Int {
        return 0
    }

    override func tableView(_ tableView: UITableView, cellForRowAt indexPath: IndexPath) -> UITableViewCell {
        let cell = tableView.dequeueReusableCell(withIdentifier: "ItemCell", for: indexPath)

        return cell
    }

}
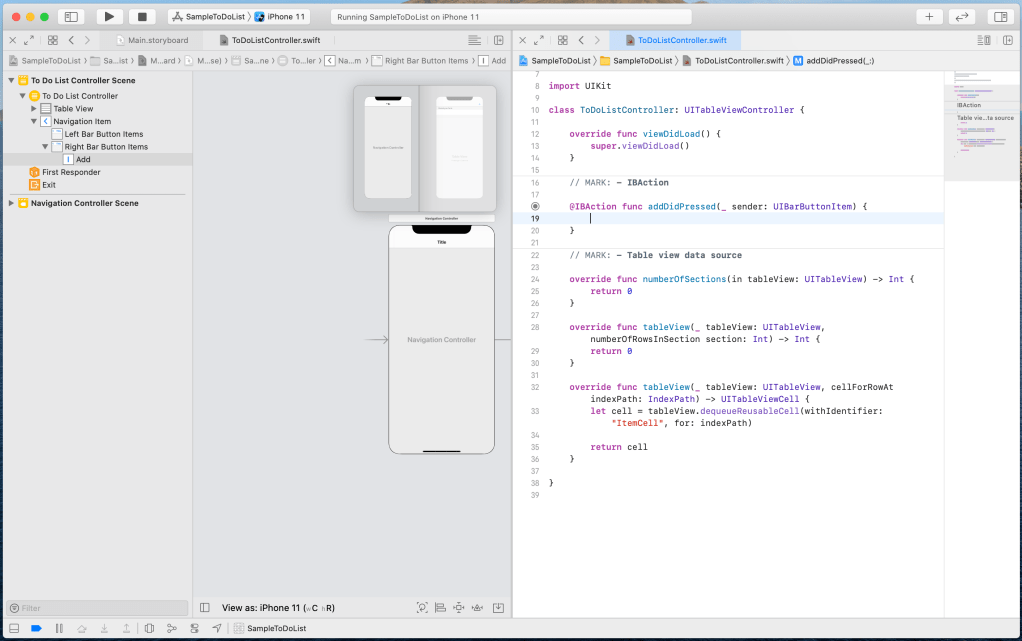
Make sure that you change the class of the TableViewControllerScene in the Main.storyboard to the newly created class ToDoListController in the Identity Inspector. Then add a UIBarButtonItem from the Library to the NavigationItem of the ToDoListControllerScene. If the newly added UIBarButtonItem falls under the LeftBarButtonItems drag it below to the RightBarButtonItems. Then select the UIBarButtonItem, change the System Item in the Attributes Inspector to Add.

Now connect the UIBarButtonItem to an action with the name addDidPressed in the ToDoListController class.
Copy and paste the following codes in your ToDoListController class.
import UIKit

class ToDoListController: UITableViewController {
    // 1
    var items = [String]()

    override func viewDidLoad() {
        super.viewDidLoad()
    }

    // MARK: - IBAction

    @IBAction func addDidPressed(_ sender: UIBarButtonItem) {
        showTextField()
    }

    // 2
    private func showTextField() {
        let alertController = UIAlertController(title: "New Item", message: "", preferredStyle: .alert)

        alertController.addTextField { (textField) in
            textField.placeholder = "Enter a new item"
        }

        let okAction = UIAlertAction(title: "OK", style: .default) { (_) in
            if let textField = alertController.textFields?.first, let newItem = textField.text, !newItem.isEmpty, newItem.count > 0 {
                self.items.append(newItem)
                self.tableView.reloadData()
            }

            alertController.dismiss(animated: true, completion: nil)
        }

        let cancelAction = UIAlertAction(title: "Cancel", style: .cancel) { (_) in
            alertController.dismiss(animated: true, completion: nil)
        }

        alertController.addAction(okAction)
        alertController.addAction(cancelAction)

        present(alertController, animated: true, completion: nil)
    }

    // MARK: - Table view data source

    override func numberOfSections(in tableView: UITableView) -> Int {
        return 1
    }

    override func tableView(_ tableView: UITableView, numberOfRowsInSection section: Int) -> Int {
        return items.count
    }

    override func tableView(_ tableView: UITableView, cellForRowAt indexPath: IndexPath) -> UITableViewCell {
        let cell = tableView.dequeueReusableCell(withIdentifier: "ItemCell", for: indexPath)

        let item = items[indexPath.row]
        cell.textLabel?.text = item

        return cell
    }

    // 3
    override func tableView(_ tableView: UITableView, commit editingStyle: UITableViewCell.EditingStyle, forRowAt indexPath: IndexPath) {
        if editingStyle == .delete {
            items.remove(at: indexPath.row)
            tableView.reloadData()
        }
    }

}
In the ToDoListController class, we
- declared and initialized a variable to store our items.
- defined a function to show an alert with a UITextField to insert a new item.
- implemented the UITableViewDataSource‘s method to enable deletion of a row.
- We removed the item at the specified index and then we reloaded the tableView’s data.
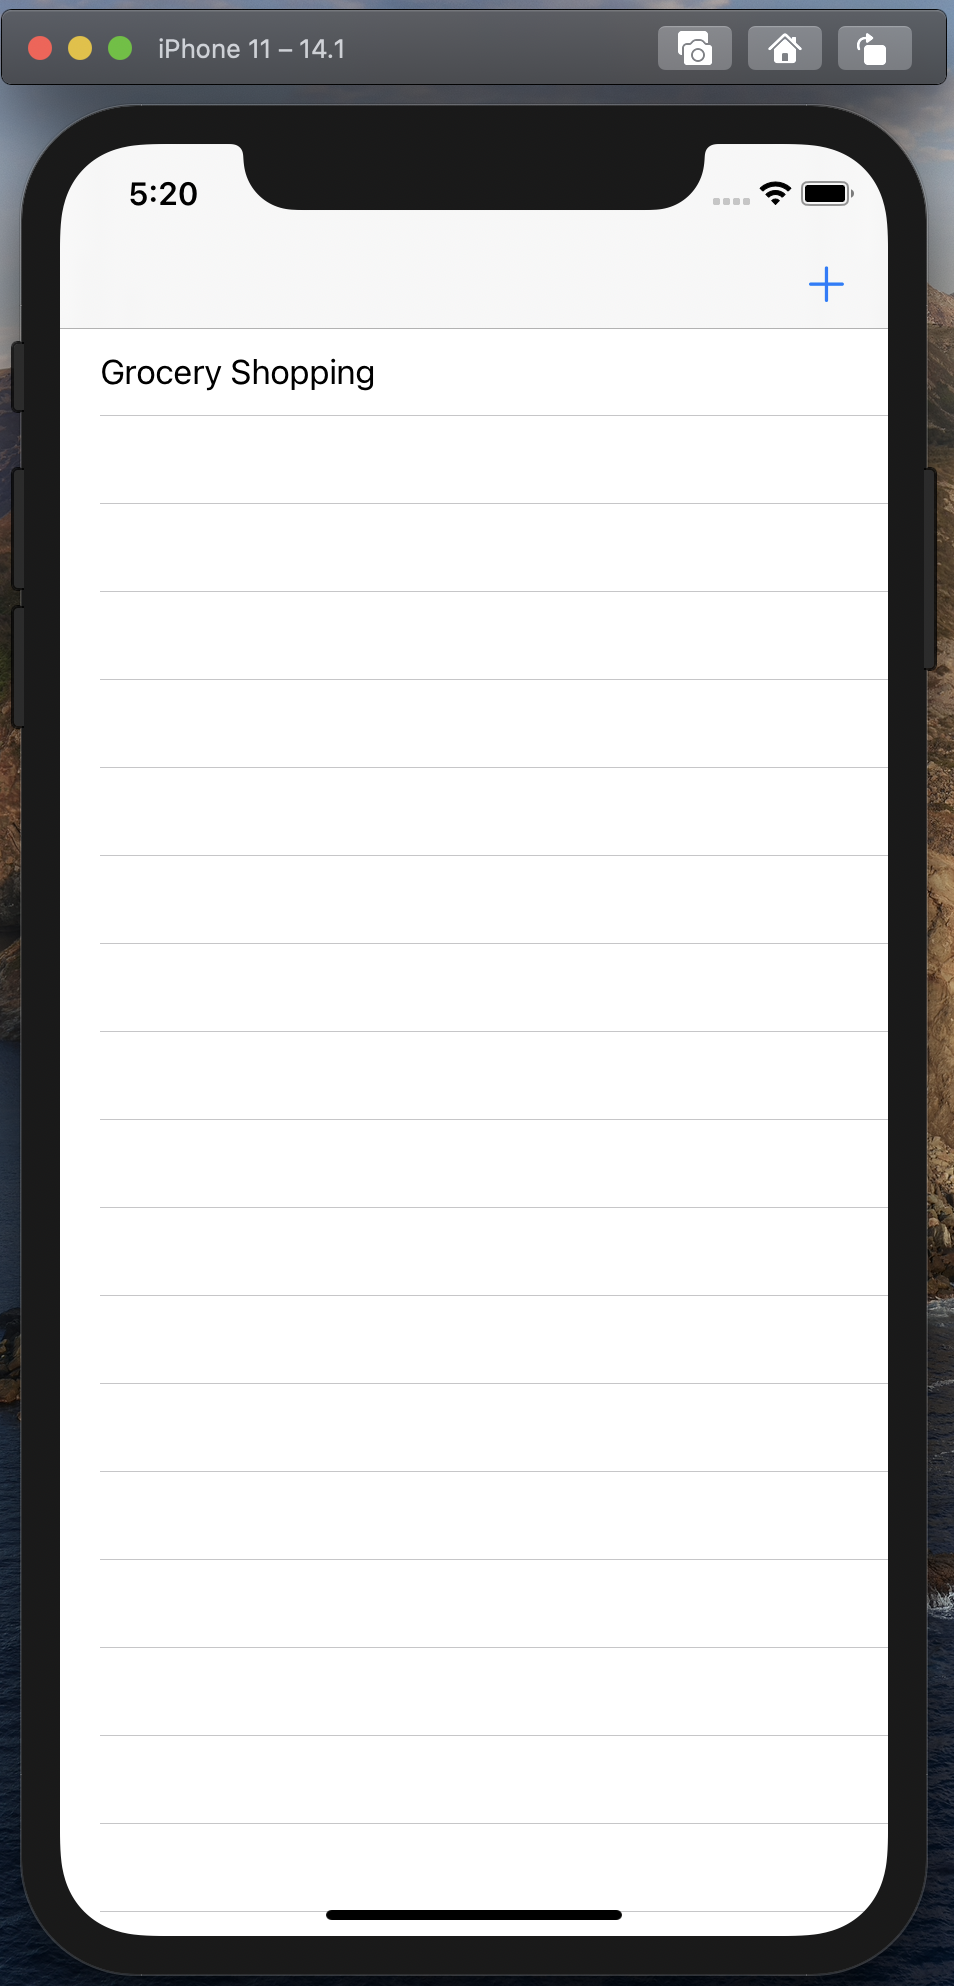
Run the app. Clicking on the top-right plus button will show an alert with a textfield. Type some text and then click OK.
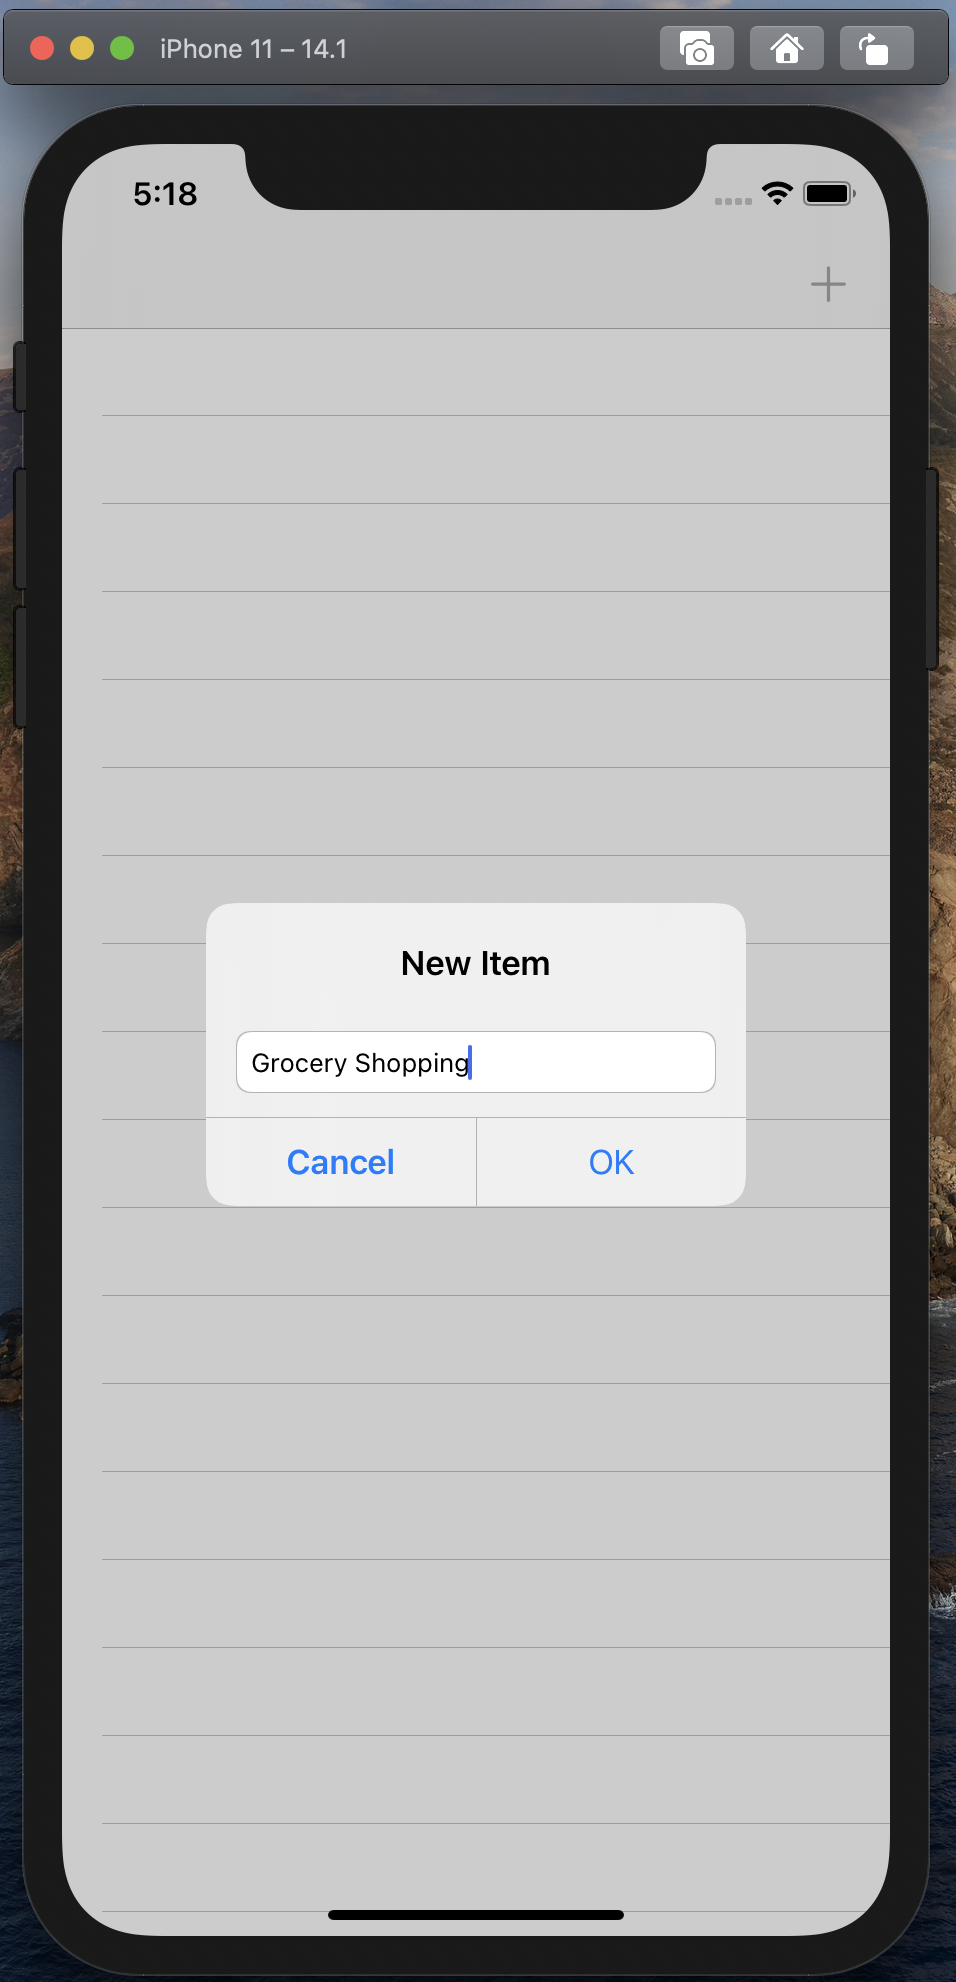
You should then see your added item displayed in your tableView.
Click and drag the added item to the left, the delete button will be revealed.
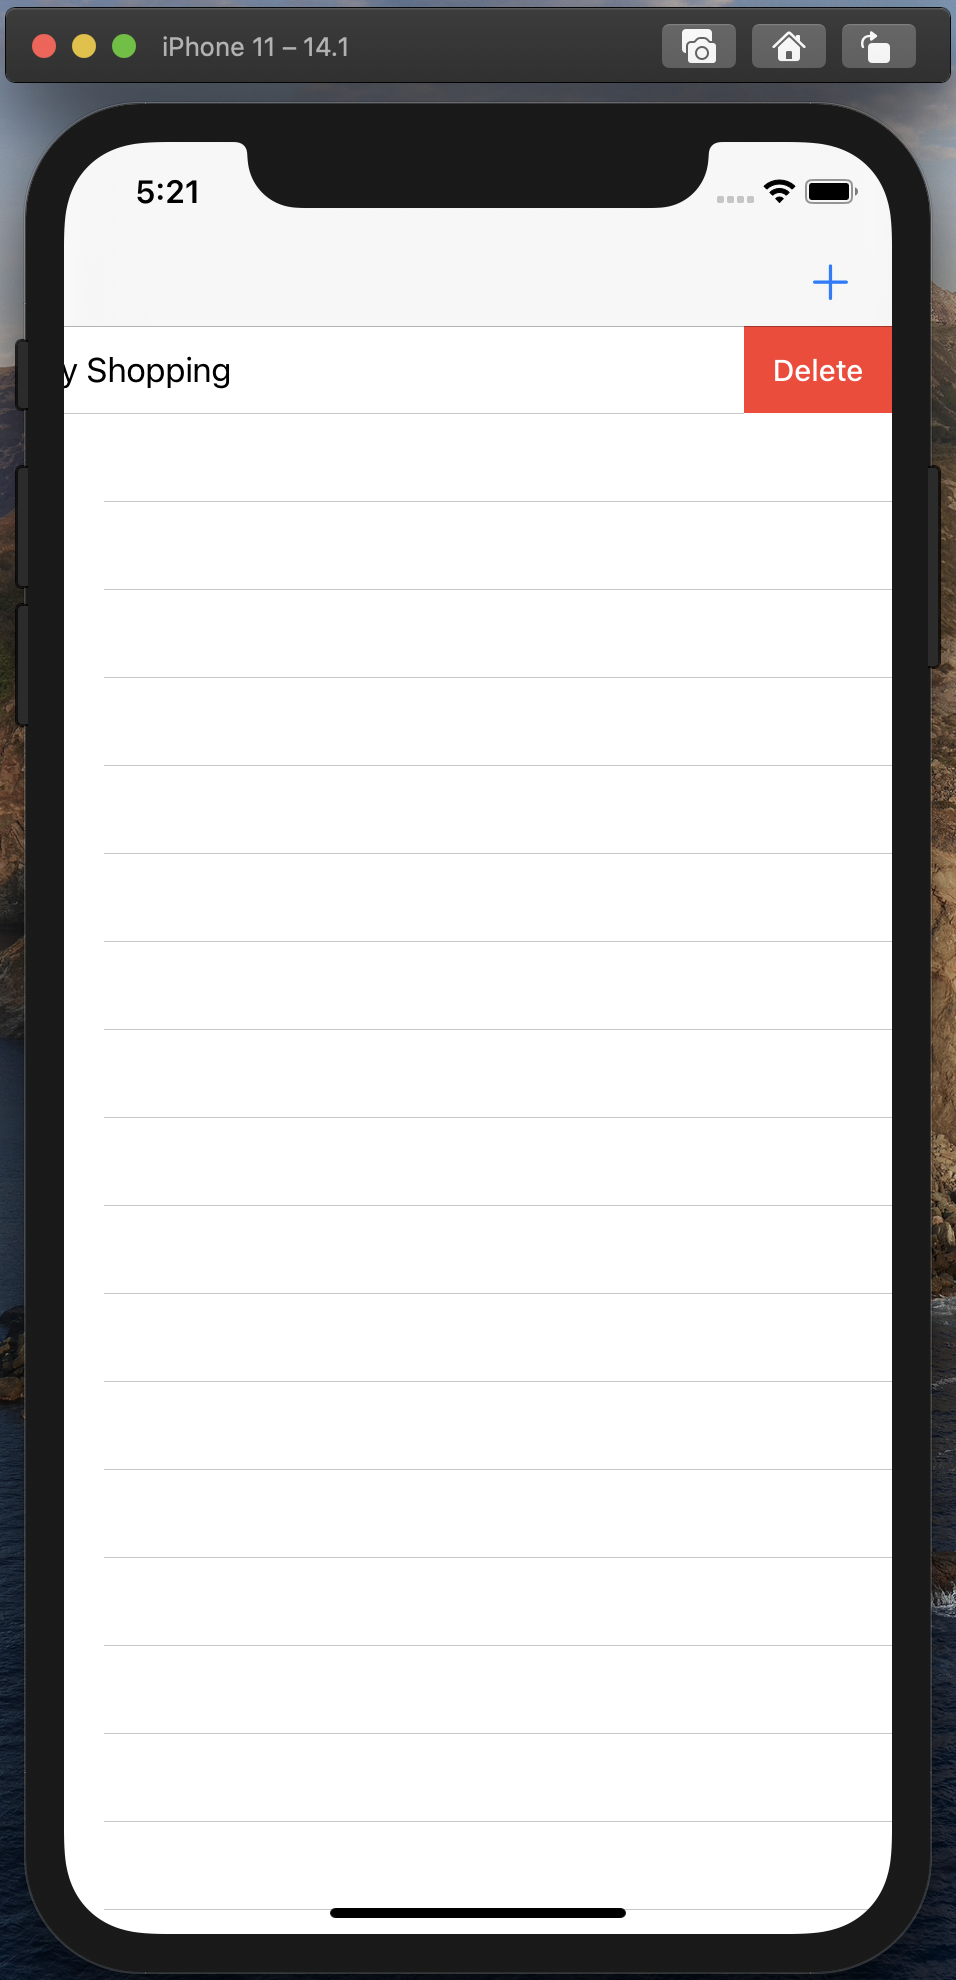
Clicking on the delete button, will delete the row.
Well done! 😀 You have created a simple to-do list app. Awesome! 😀

You must be logged in to post a comment.