In this tutorial you will learn how to use URLSession to fetch data from a url. To start learning iOS Application Development, you will need a Mac computer and Xcode, Apple’s Integrated Development Environment (IDE). This tutorial makes use of the Swift Programming Language. Hence before diving into iOS application development, it is recommended to have at least a basic knowledge of the Swift Programming Language.
URLSession
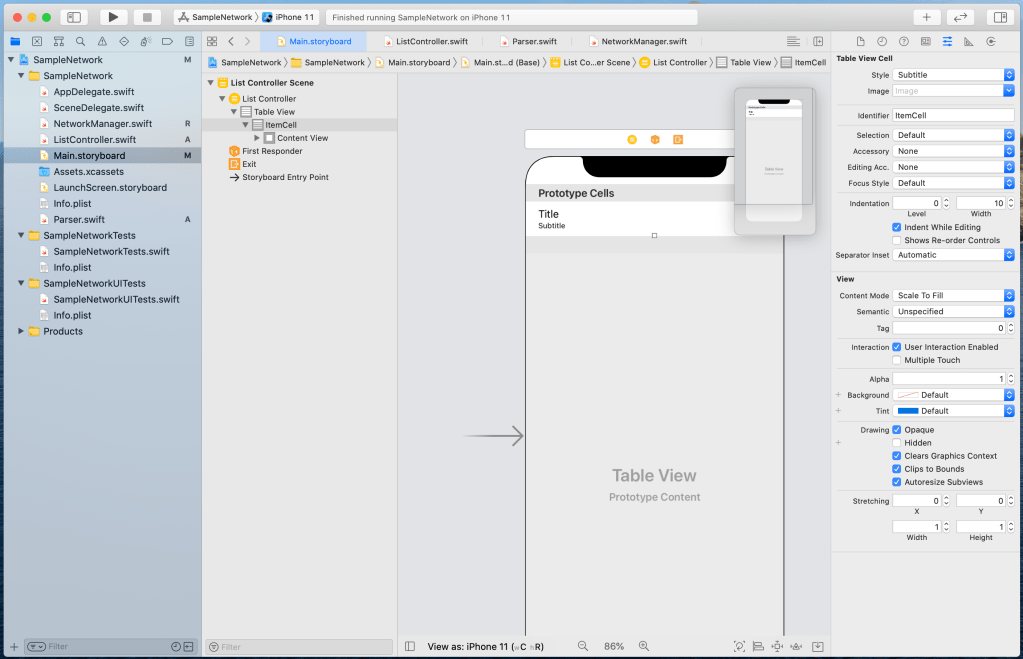
We will create a simple app where we will be fetching some data from a given url and eventually display them in a UITableView. Create an Xcode project and name it SampleNetwork. Follow the tutorial iOS – UITableView to add a UITableViewController in the Main.storyboard and to make it the initial view controller. Create a subclass of UITableViewController and name it ListController. Make sure the UITableViewController in your Main.storyboard takes your ListController as class and name your prototype cell to ItemCell and change its style to Subtitle.
Create another class, make it a subclass of NSObject and name it NetworkManager. We will write codes related to the fetching of data from a given url in the class file NetworkManager. Now create a Swift file and name it Parser.

We will fetch a list of users from this url. We have to model the user and make it extend Codable to be able to parse the json data obtained. The json data will be in the following format:
[
  {
    "id": 1,
    "name": "Leanne Graham",
    "username": "Bret",
    "email": "Sincere@april.biz",
    "address": {
      "street": "Kulas Light",
      "suite": "Apt. 556",
      "city": "Gwenborough",
      "zipcode": "92998-3874",
      "geo": {
        "lat": "-37.3159",
        "lng": "81.1496"
      }
    },
    "phone": "1-770-736-8031 x56442",
    "website": "hildegard.org",
    "company": {
      "name": "Romaguera-Crona",
      "catchPhrase": "Multi-layered client-server neural-net",
      "bs": "harness real-time e-markets"
    }
  },...
]
So basically a user will have an id, a name, a username, an email, an address (comprising of a street, a suite, a city, a zipcode and a geo (comprising of a lat and a lng)), a phone, a website and a company (comprising of a name, a catchPhrase and a bs). Notice that an address, a geo and a company has more than 1 info, which is why, we are going to have four models. We will name them User, Address, Coordinate and Company respectively. Copy and paste the following codes in the Parser Swift file.
import Foundation

struct User: Codable {
    let id: Int
    var name: String
    var username: String
    var email: String
    var address: Address
    var phone: String
    var website: String
    var company: Company
}

struct Address: Codable {
    var street: String
    var suite: String
    var city: String
    var zipcode: String
    var geo: Coordinate
}

struct Coordinate: Codable {
    var lat: String
    var lng: String
}

struct Company: Codable {
    var name: String
    var catchPhrase: String
    var bs: String
}
Now we have to fetch the users from the url. Copy and paste the following codes in the NetworkManager class file.
import UIKit

class NetworkManager: NSObject {
    static let shared = NetworkManager()

    func fetchUsers(completion: @escaping ([User]?, Error?) -> Void) {
        // 1
        let userUrl = "https://jsonplaceholder.typicode.com/users"
        // 2
        let urlSession = URLSession(configuration: .default)
        // 3
        guard let url = URL(string: userUrl) else { return }

        // 4
        urlSession.dataTask(with: url) { (data, response, error) in
            // 5
            if let error = error {
                print("Error: \(error.localizedDescription)")
            } else {
                // 6
                guard let data = data, let response = response as? HTTPURLResponse, response.statusCode == 200 else { return }

                // 7
                DispatchQueue.main.async {
                    do {
                        // 8
                        let jsonDecoder = JSONDecoder()
                        let users = try jsonDecoder.decode([User].self, from: data)
                        completion(users, error)
                    } catch let error {
                        // 9
                        print("Error: \(error.localizedDescription)")
                        completion(nil, error)
                    }
                }
            }
        }.resume() // 10
    }
}
In the NetworkManager class file, we
- define a constant to hold a url of String type.
- define a default URLSession.
- define a url to identify the url String as an item on a remote server.
- create a task to retrieve data from the specified url.
- check if the error has some information before proceeding to the parsing of the JSON data.
- make sure that the data has indeed some data in it and checked the statusCode of the response before proceeding to the parsing codes.
- process the fetching of data on a background task and now that we have it, we want it to be available to the UIKit, to be able to reload the data of our UITableView. Since the UIKit works only on a main thread or main dispatch queue, we need to wrap our parsing codes inside a DispatchQueue.main.async { }.
- use the JSONDecoder to decode the data we retrieved by giving it an array of the parser User we previously defined.
- catch an error in case it occurs during the decoding of the data.
- resume the task because by default it is in a suspended state.
Update your ListController with the following codes:
import UIKit

class ListController: UITableViewController {
    private var users = [User]()

    override func viewDidLoad() {
        super.viewDidLoad()

        // 1
        NetworkManager.shared.fetchUsers { (users, error) in
            if let fetchedUsers = users {
                // 2
                self.users = fetchedUsers
                self.tableView.reloadData()
            }
        }
    }

    // MARK: - Table view data source

    override func numberOfSections(in tableView: UITableView) -> Int {
        return 1
    }

    override func tableView(_ tableView: UITableView, numberOfRowsInSection section: Int) -> Int {
        return users.count
    }

    override func tableView(_ tableView: UITableView, cellForRowAt indexPath: IndexPath) -> UITableViewCell {
        let cell = tableView.dequeueReusableCell(withIdentifier: "ItemCell", for: indexPath)

        let user = users[indexPath.row]

        cell.textLabel?.text = user.name
        cell.detailTextLabel?.text = user.username

        return cell
    }

}
In the ListController class file, we
- call our fetchUsers() method from the NetworkManager class.
- update our list of users and reload the data of our UITableView.
Run the project. If the user list has been successfully fetched from the server, you should have them displayed in your app as shown below.
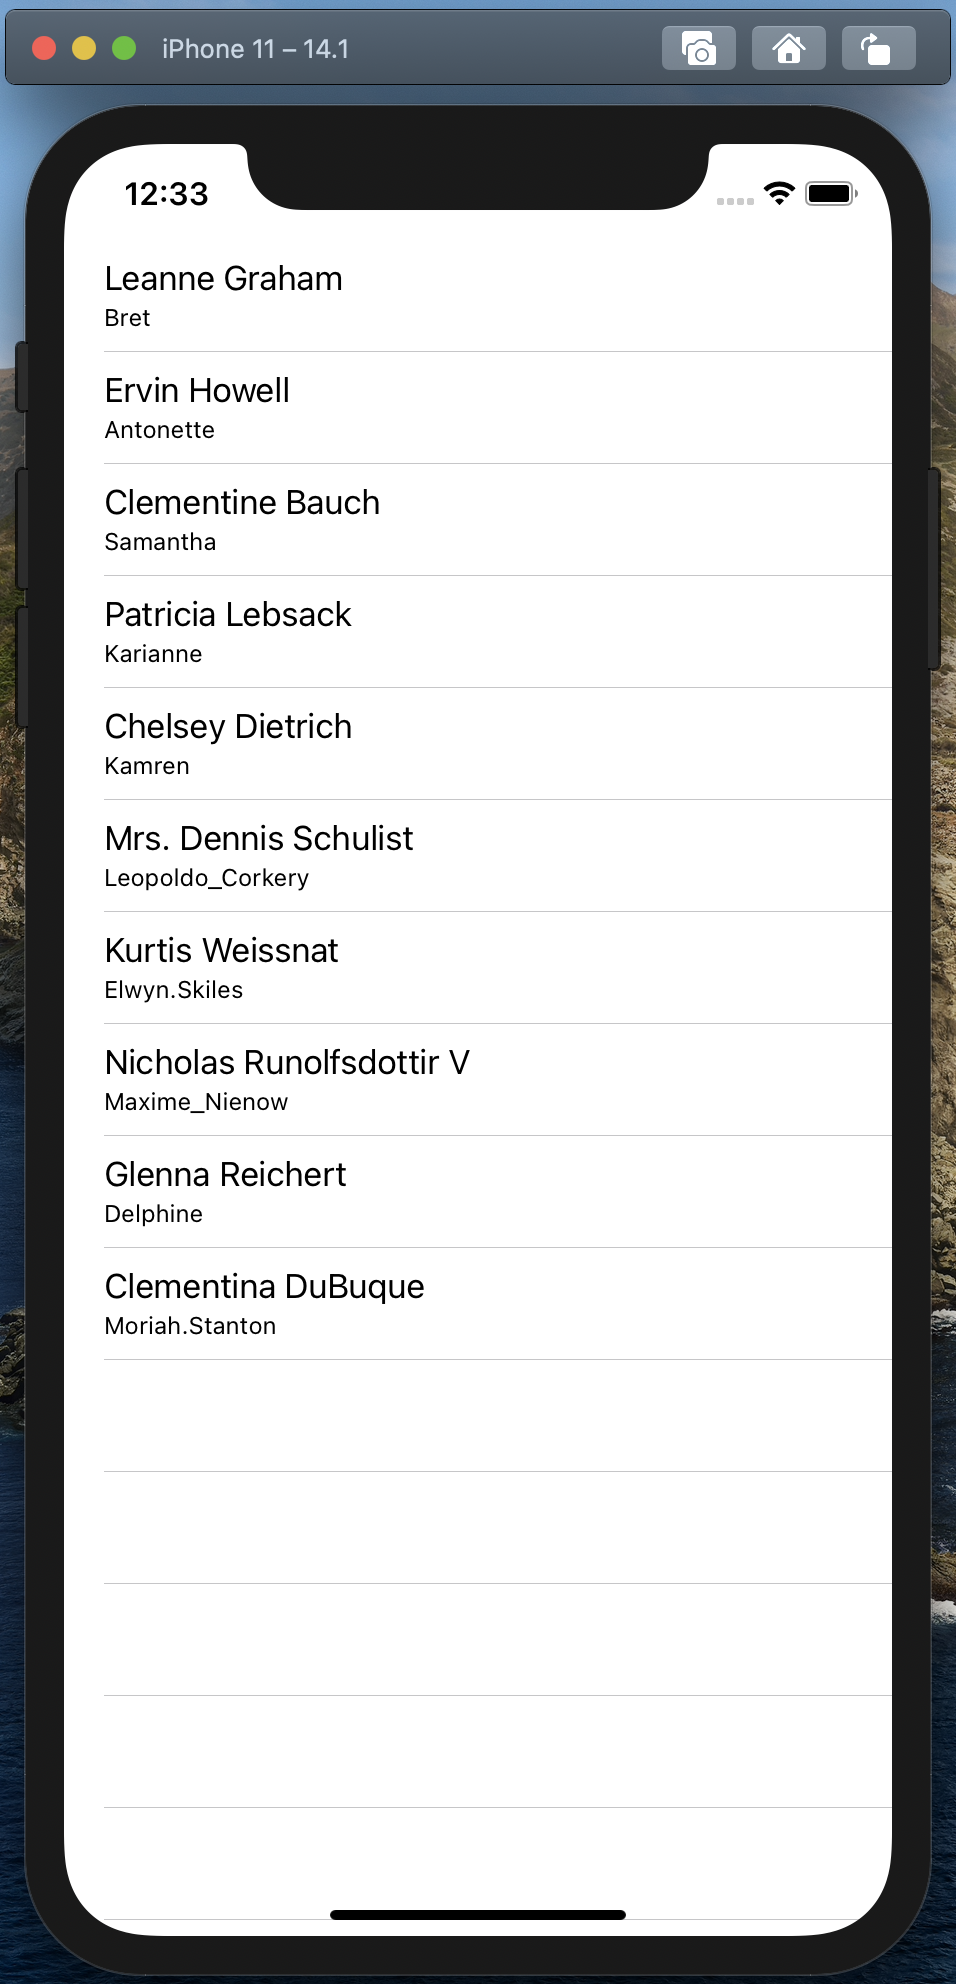
Well done! 😀 You now have a basic knowledge of how to fetch data from a server. Awesome! 😀

You must be logged in to post a comment.