In this tutorial you will learn how to create a basic Android application. To start learning Android Application Development, you will need a computer or laptop and Android Studio, Google’s Integrated Development Environment (IDE). This tutorial makes use of the Kotlin Programming Language. Hence before diving into Android application development, it is recommended to have at least a basic knowledge of the Kotlin Programming Language.
Introduction
We will create a basic Android application in which we will have a Button and a TextView. Clicking on the Button will change the text of the TextView.
Open Android Studio and click on Create New Project.

Select the Empty Activity project template and then click Next.

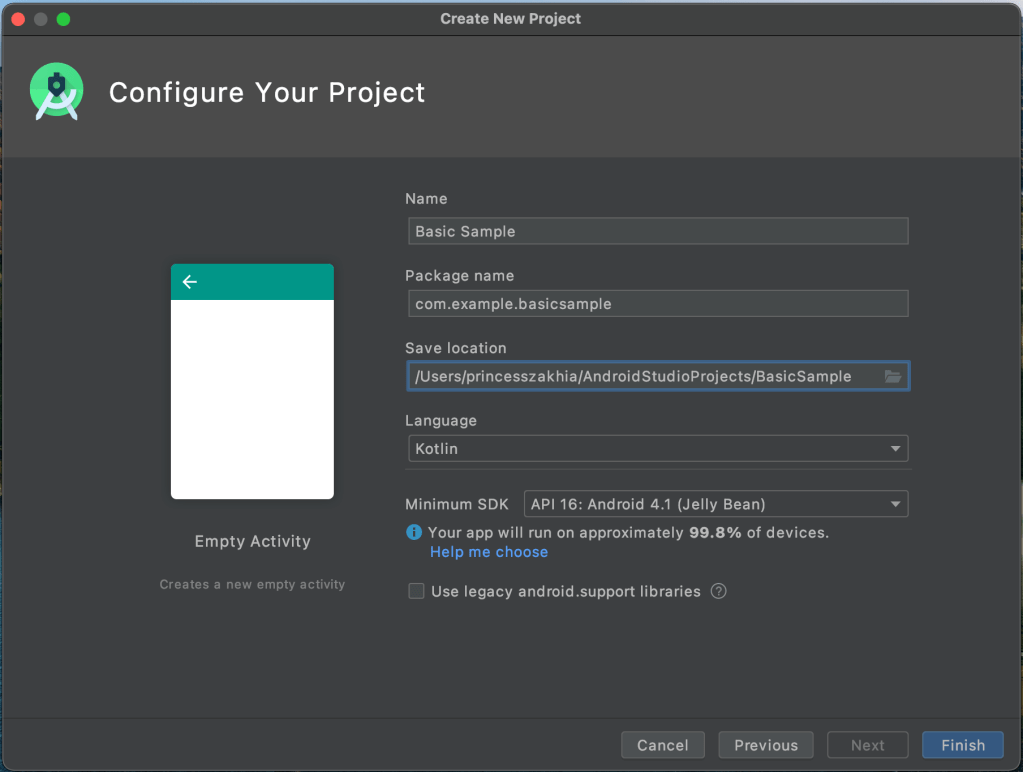
Type Basic Sample as the project’s Name as shown below and then click on Finish.
If you have correctly followed the steps above, you should now have an Android project.

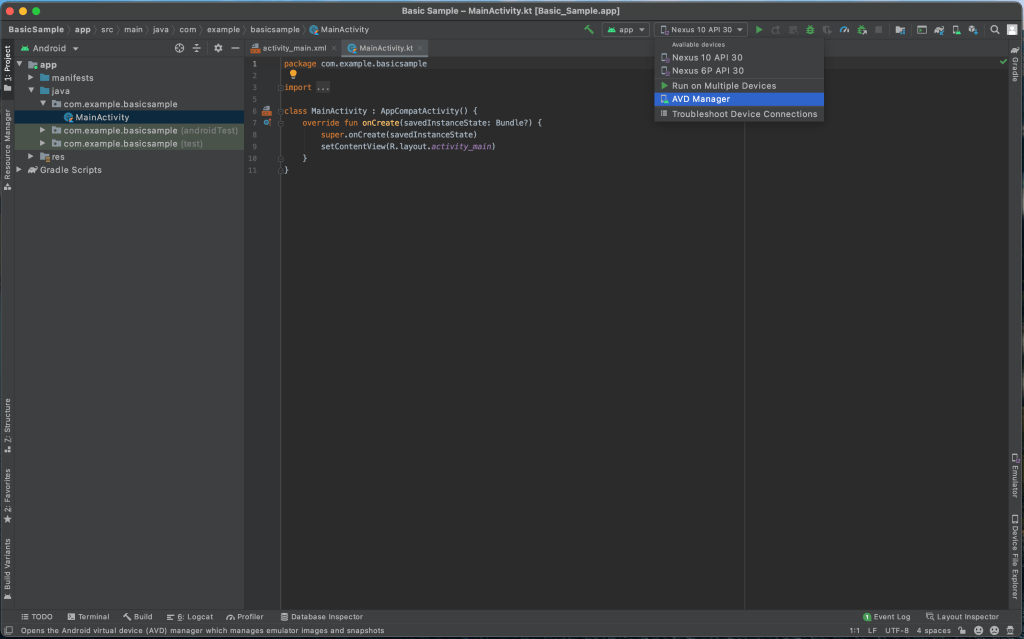
At the top right of Android Studio, if no emulator device is available, click on AVD Manager.
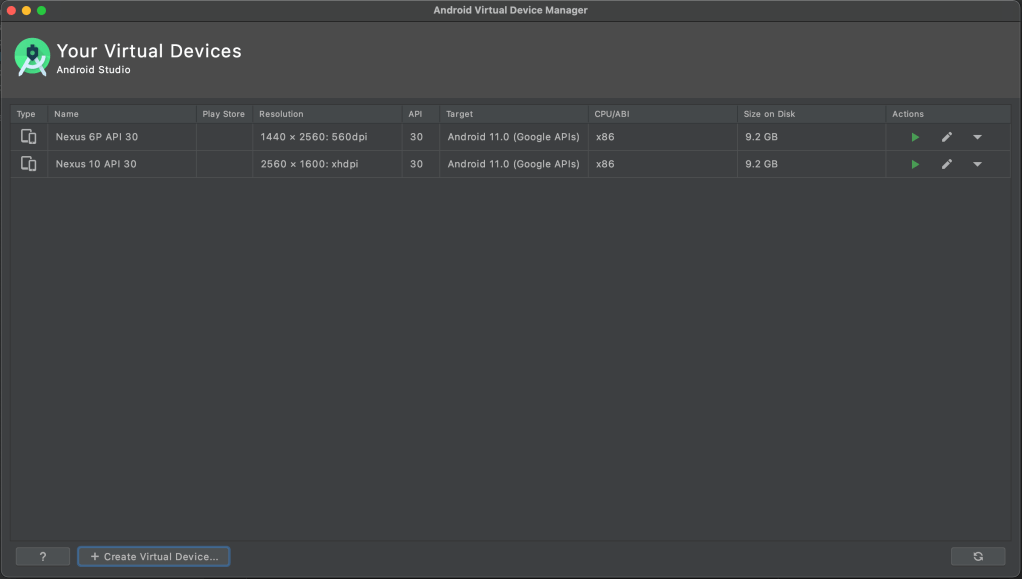
Click on Create Virtual Device….
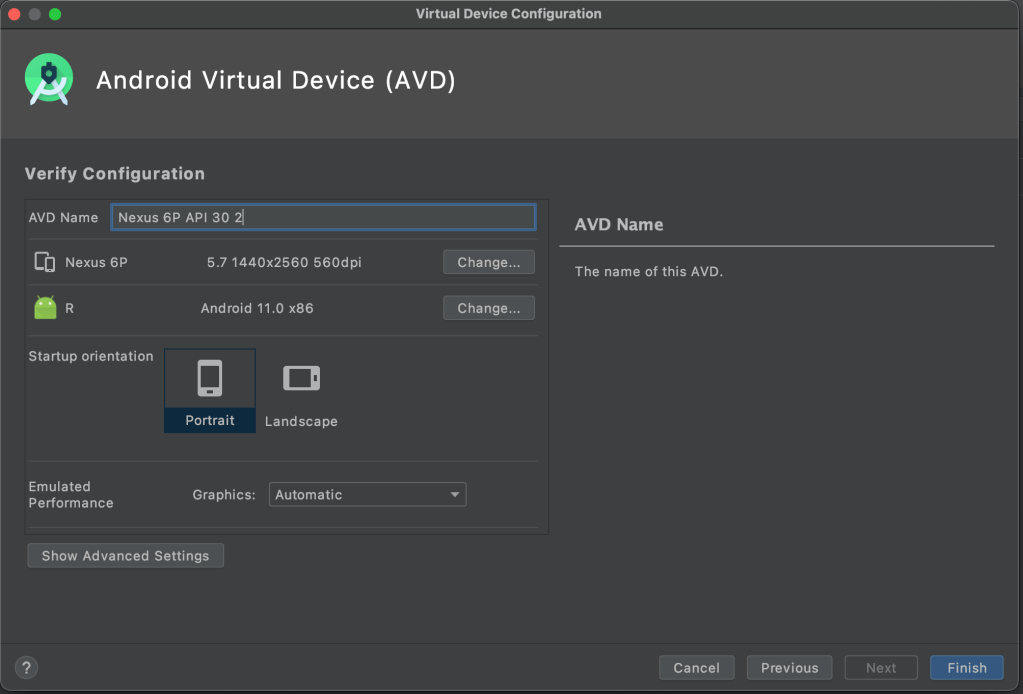
Select Phone as the Category, select Nexus 6P and then click Next.

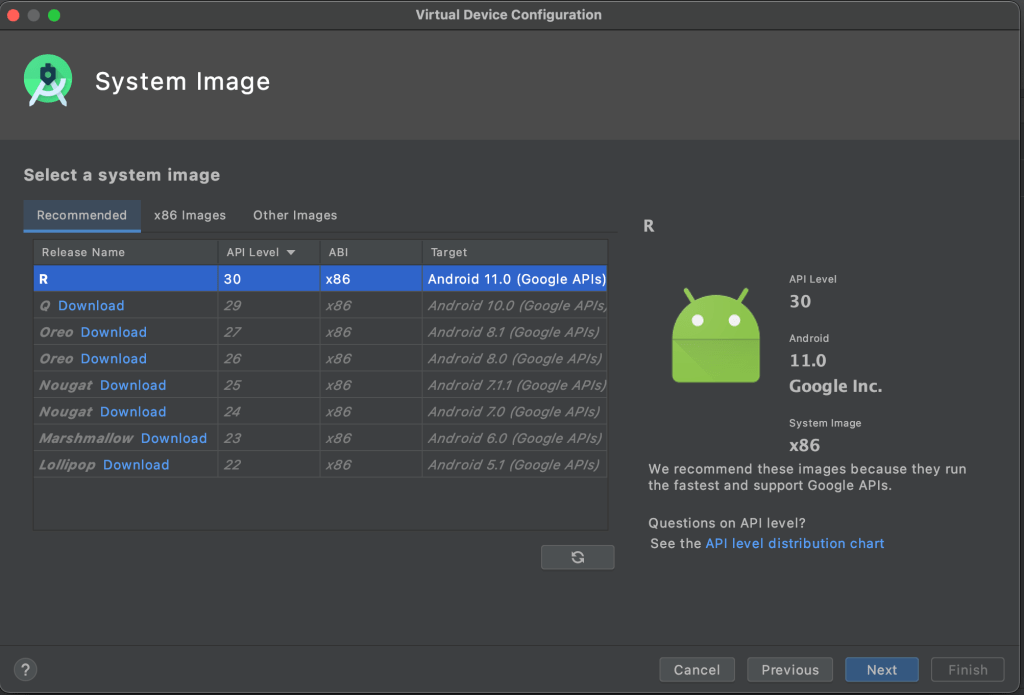
Select the API Level 30, click on Download if required and then click Next.
Click Finish.
Select the Nexus 6P emulator and click on Run.
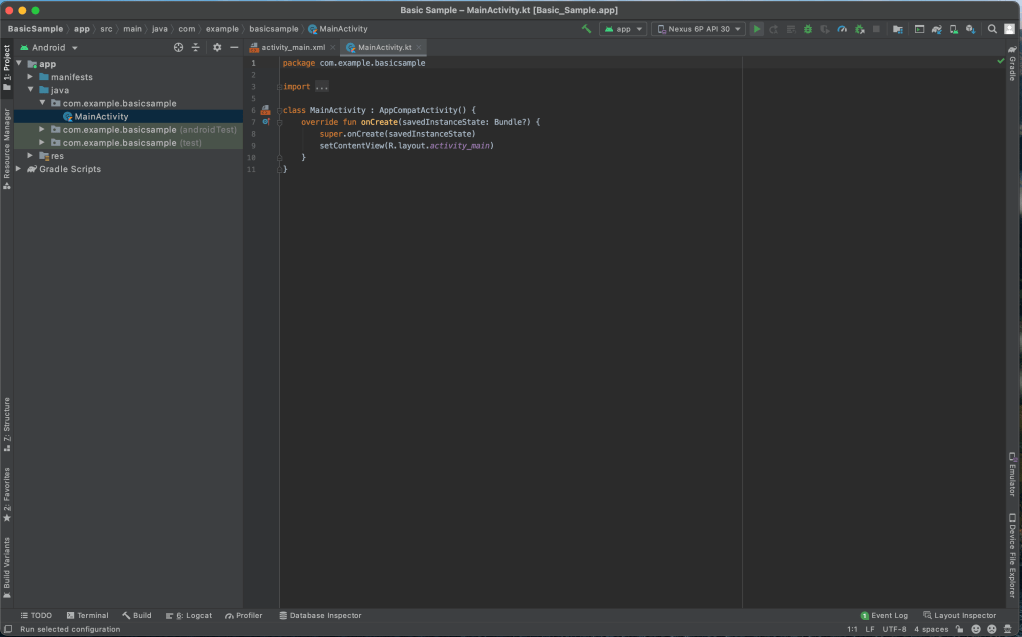
Android Studio will launch the Nexus 6P emulator and you will see the text Hello World! displayed in the center of the emulator.

Our app is displaying the static text Hello World! in the TextView in the activity_main.xml file. We can change the text dynamically in our MainActivity.kt class file. To do so, in the activity_main.xml, select the TextView, then in the right area, type the txtHello next to the id property and press enter.

In the left of your IDE, double-click on the file build.gradle (Module: Basic_Sample.app) to open it. Inside the android { }, add
dataBinding {
    enabled = true
}
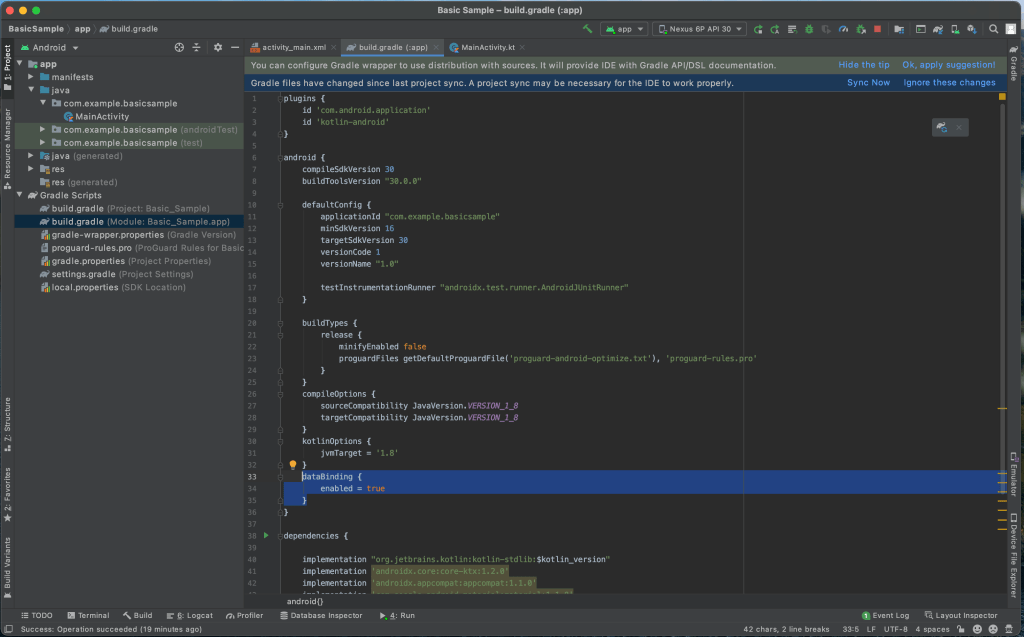
Click on Sync Now.
Open the activity_main.xml file and click on Code (right area of editor). Then replace the file’s content with the following:
<layout xmlns:android="http://schemas.android.com/apk/res/android"
    xmlns:app="http://schemas.android.com/apk/res-auto"
    xmlns:tools="http://schemas.android.com/tools">
    <androidx.constraintlayout.widget.ConstraintLayout
        android:layout_width="match_parent"
        android:layout_height="match_parent"
        tools:context=".MainActivity">

        <TextView
            android:id="@+id/txtHello"
            android:layout_width="wrap_content"
            android:layout_height="wrap_content"
            android:text="Hello World!"
            app:layout_constraintBottom_toBottomOf="parent"
            app:layout_constraintLeft_toLeftOf="parent"
            app:layout_constraintRight_toRightOf="parent"
            app:layout_constraintTop_toTopOf="parent" />

    </androidx.constraintlayout.widget.ConstraintLayout>
</layout>
Select the MainActivity.kt class file and replace the codes with the following.
package com.example.basicsample

import androidx.appcompat.app.AppCompatActivity
import android.os.Bundle
import androidx.databinding.DataBindingUtil
import com.example.basicsample.databinding.ActivityMainBinding

class MainActivity : AppCompatActivity() {
    private lateinit var binding: ActivityMainBinding

    override fun onCreate(savedInstanceState: Bundle?) {
        super.onCreate(savedInstanceState)
        binding = DataBindingUtil.setContentView(this, R.layout.activity_main)
    }
}
If you encounter errors regarding the ActivityMainBinding, click on Build and Clean Project.
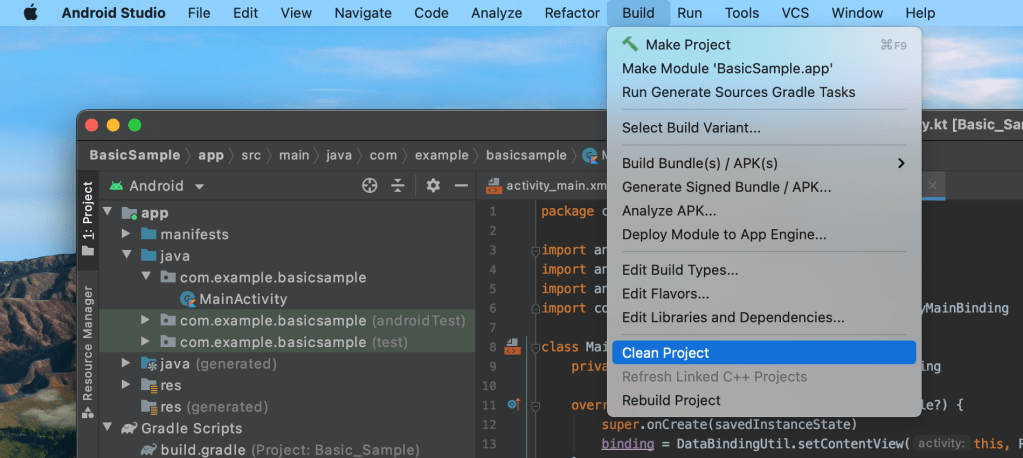
Then click on Build again and Rebuild Project.

Inside the MainActivity.kt class file, set the text “My first Android Application” to the TextView as follows:
class MainActivity : AppCompatActivity() {
    private lateinit var binding: ActivityMainBinding

    override fun onCreate(savedInstanceState: Bundle?) {
        super.onCreate(savedInstanceState)
        binding = DataBindingUtil.setContentView(this, R.layout.activity_main)

        binding.txtHello.text = "My first Android Application"
    }
}
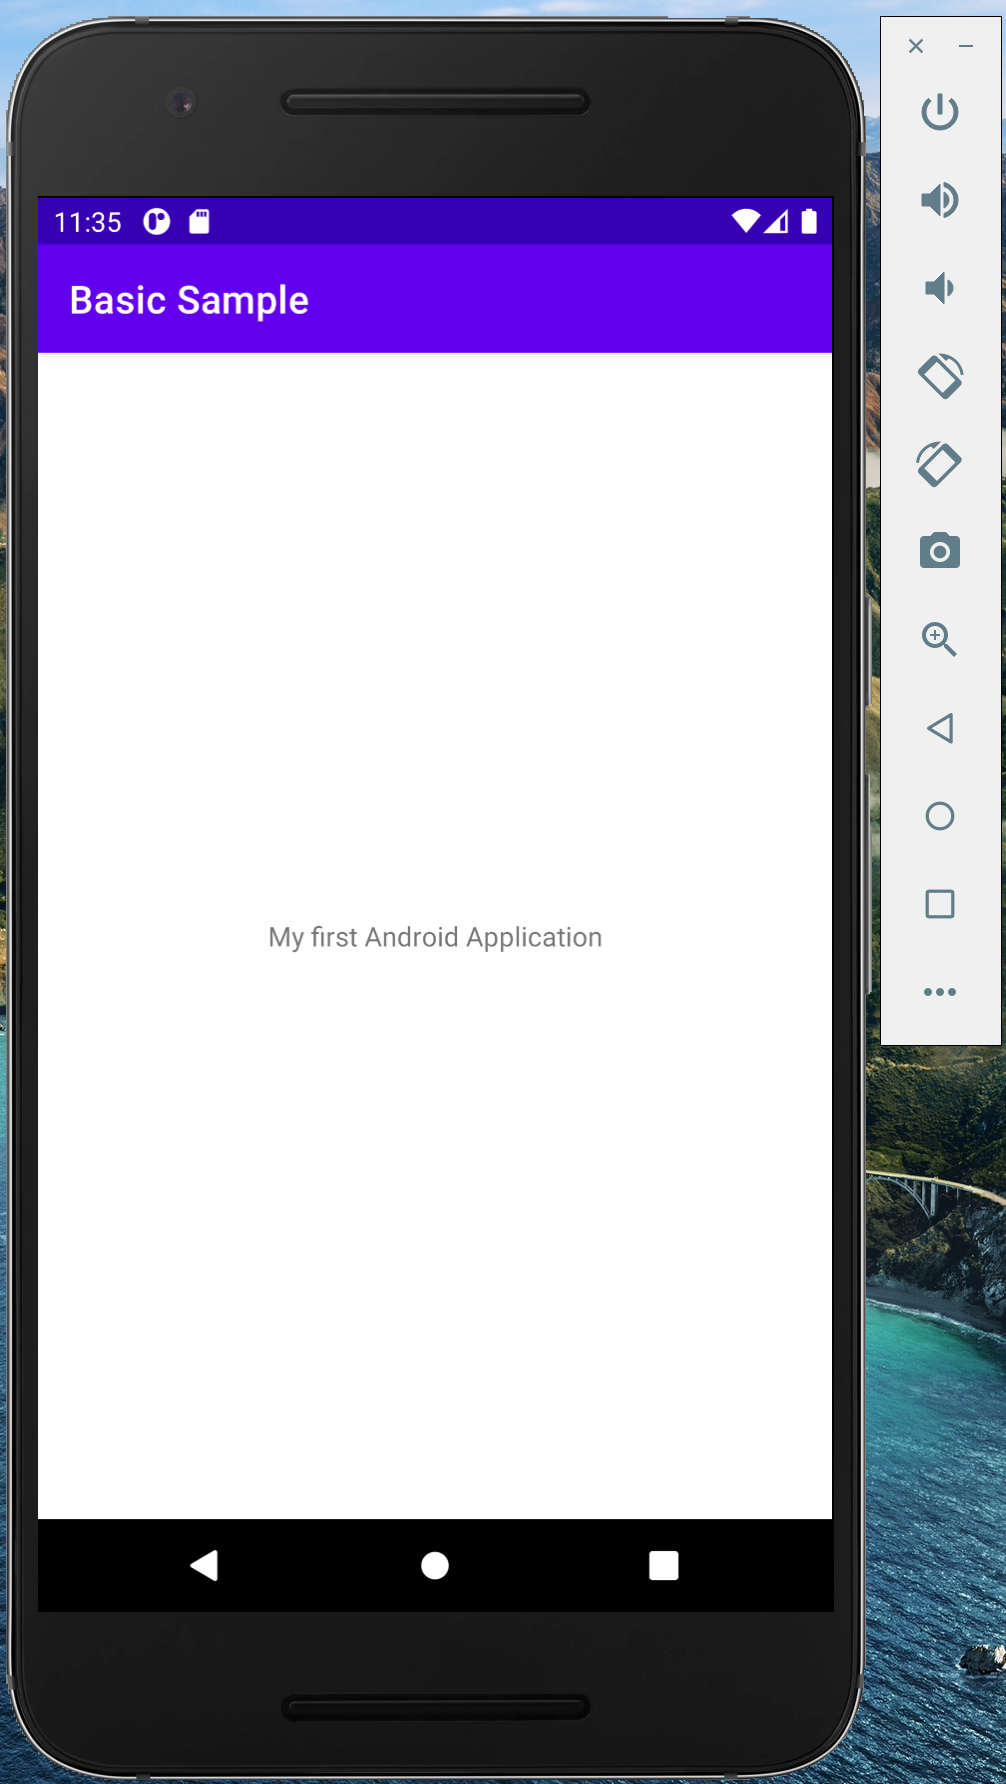
Run the application to see the new text displayed.
Now we want to change the text by clicking on a Button. Let’s clear the constraints of our TextView first. Select the txtHello in the Component Tree area. Above the design area, click on the fourth button to Clear All Constraints.

Let’s add a Button on top of the screen and drag the TextView below it. Then select the Button and add the following constraints:
- click and drag the top circle of the Button to the top. In the right area. under the Constraint Widget, type 20 for the top constraint.
- click and drag the left circle of the Button to the left.
- click and drag the right circle of the Button to the right.
In the right area, change the Button‘s properties id to btnChange and text to Change text.

Let’s add constraints to our TextView. Select the TextView and add the following constraints:
- click and drag the top circle of the TextView to the bottom circle of the Button. In the right area. under the Constraint Widget, type 20 for the top constraint.
- click and drag the left circle of the TextView to the left. In the right area, under the Constraint Widget, type 20 for the left constraint.
- click and drag the right circle of the TextView to the right. In the right area, under the Constraint Widget, type 20 for the right constraint.
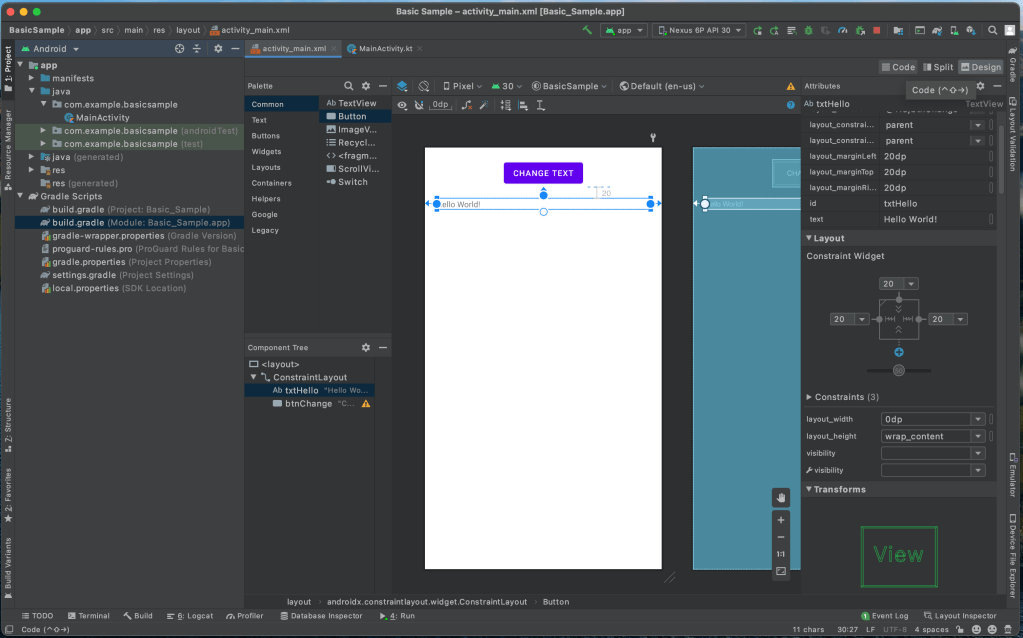
In the right area, change the TextView‘s property layout_width to 0dp (match_constraint).
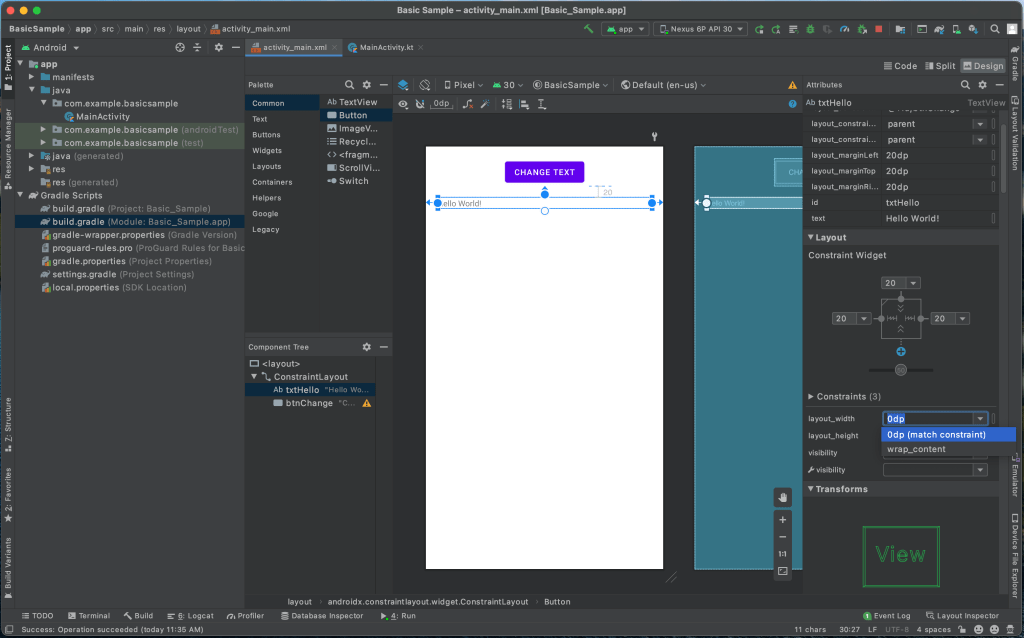
In the right area, expand the TextView‘s property gravity and check center.

In the right area, click on Code.
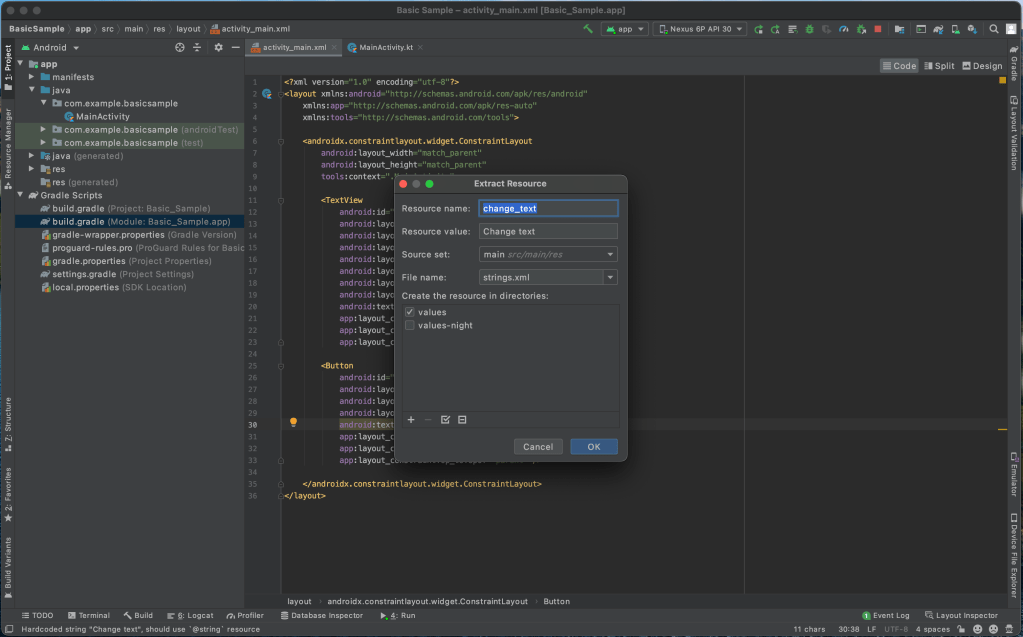
In the code view of our activity_main.xml file, select the text Change text and keep hovering on it till you see a popup as below. Then click on Extract string resource.

Type change_text as the Resource name and then click OK.
Let’s define an action method btnChangeDidPressed() for our Button so that when it’s clicked our TextView‘s text changes to You pressed the button. Copy the following method btnChangeDidPressed() in your MainActivity.kt class file.
class MainActivity : AppCompatActivity() {
    private lateinit var binding: ActivityMainBinding

    override fun onCreate(savedInstanceState: Bundle?) {
        super.onCreate(savedInstanceState)
        binding = DataBindingUtil.setContentView(this, R.layout.activity_main)

        binding.txtHello.text = "My first Android Application"
    }

    fun btnChangeDidPressed(view: View) {
        binding.txtHello.text = "You pressed the button"
    }
}
In your activity_main.xml file, select the Button and change its property onClick to btnChangeDidPressed.

Run the application. You should see the text My first Android Application displayed and clicking on the Button should change it to You pressed the button.

Well done! You just created your first app! 😀

You must be logged in to post a comment.