In this tutorial you will learn how to display a list in a RecyclerView. To start learning Android Application Development, you will need a computer or laptop and Android Studio, Google’s Integrated Development Environment (IDE). This tutorial makes use of the Kotlin Programming Language. Hence before diving into Android application development, it is recommended to have at least a basic knowledge of the Kotlin Programming Language.
RecyclerView
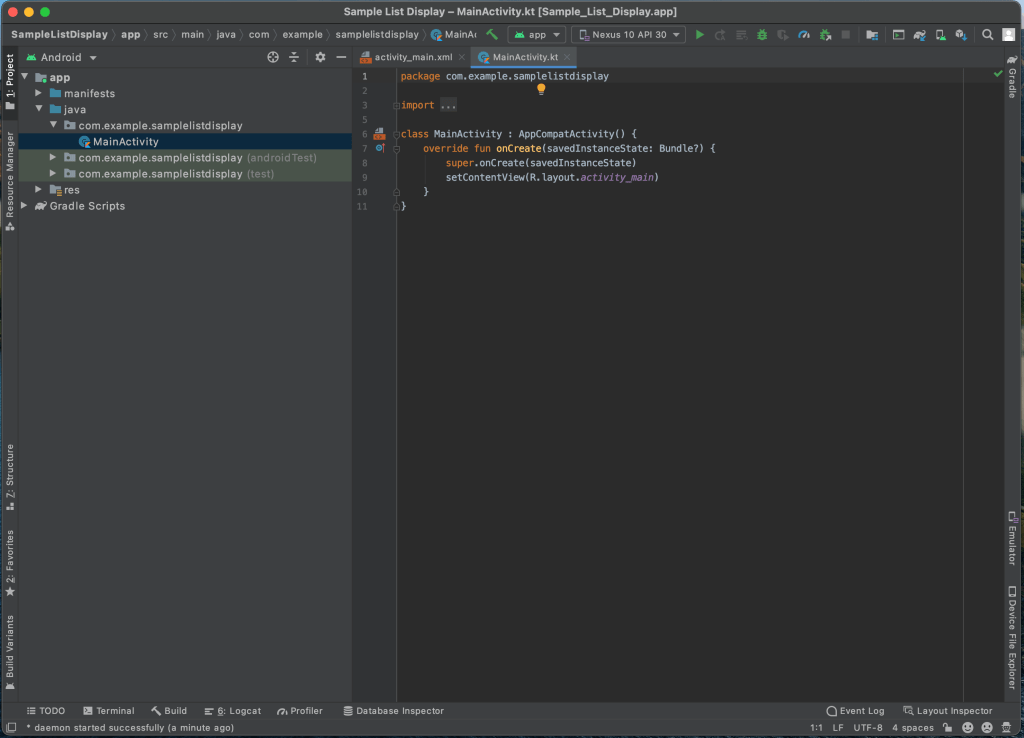
We will display a list of some fruits in a RecyclerView. Open Android Studio, create an Android app just like we did in our previous example and name the project Sample List Display.
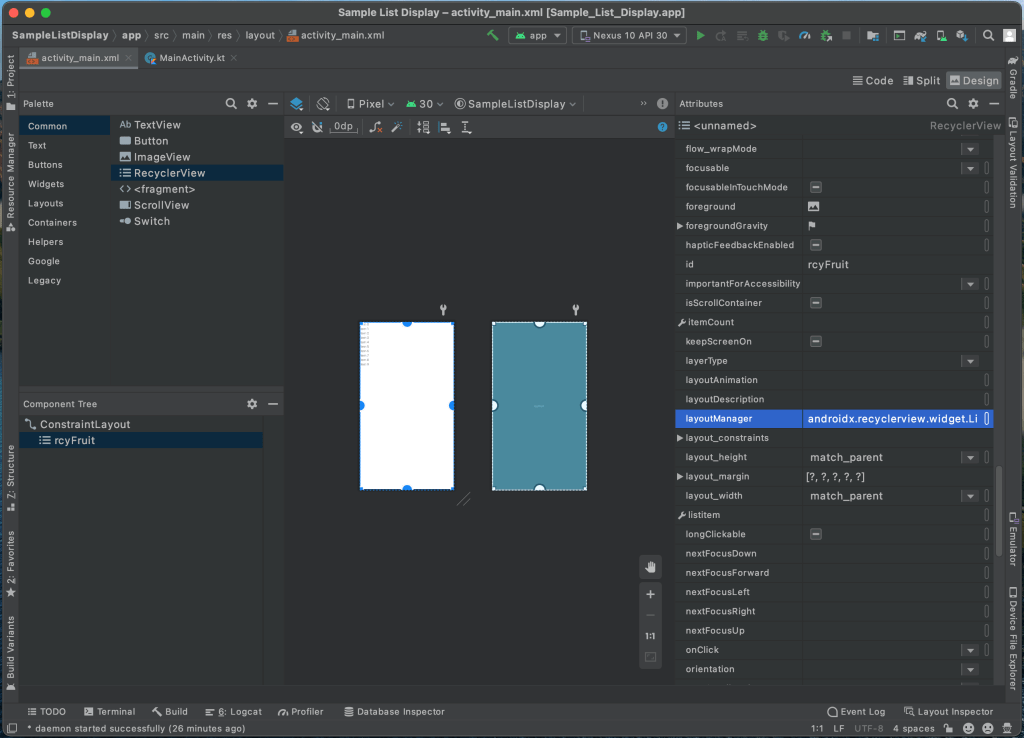
Now open the activity_main.xml file. Select the TextView in the Component Tree and then press delete on your keyboard. Select the RecyclerView from the Palette and drag it in the design area.

Select the added RecyclerView, then click the top, left, right and bottom circle to add constraints as below:

In the Attributes area, type rcyFruit as the id property and androidx.recyclerview.widget.LinearLayoutManager as the layoutManager property.
In the left area of your IDE, double-click on the file build.gradle (Module: Sample_List_Display.app) to open it. Inside the android { }, add
dataBinding {
    enabled = true
}
Click on Sync Now. Open your activity_main.xml file. In the right area, click on Code and replace your file’s content with the following:
<?xml version="1.0" encoding="utf-8"?>
<layout xmlns:android="http://schemas.android.com/apk/res/android"
    xmlns:app="http://schemas.android.com/apk/res-auto"
    xmlns:tools="http://schemas.android.com/tools">
    <androidx.constraintlayout.widget.ConstraintLayout
        android:layout_width="match_parent"
        android:layout_height="match_parent"
        tools:context=".MainActivity">

        <androidx.recyclerview.widget.RecyclerView
            android:id="@+id/rcyFruit"
            android:layout_width="match_parent"
            android:layout_height="match_parent"
            app:layoutManager="androidx.recyclerview.widget.LinearLayoutManager"
            app:layout_constraintBottom_toBottomOf="parent"
            app:layout_constraintEnd_toEndOf="parent"
            app:layout_constraintStart_toStartOf="parent"
            app:layout_constraintTop_toTopOf="parent" />
    </androidx.constraintlayout.widget.ConstraintLayout>
</layout>
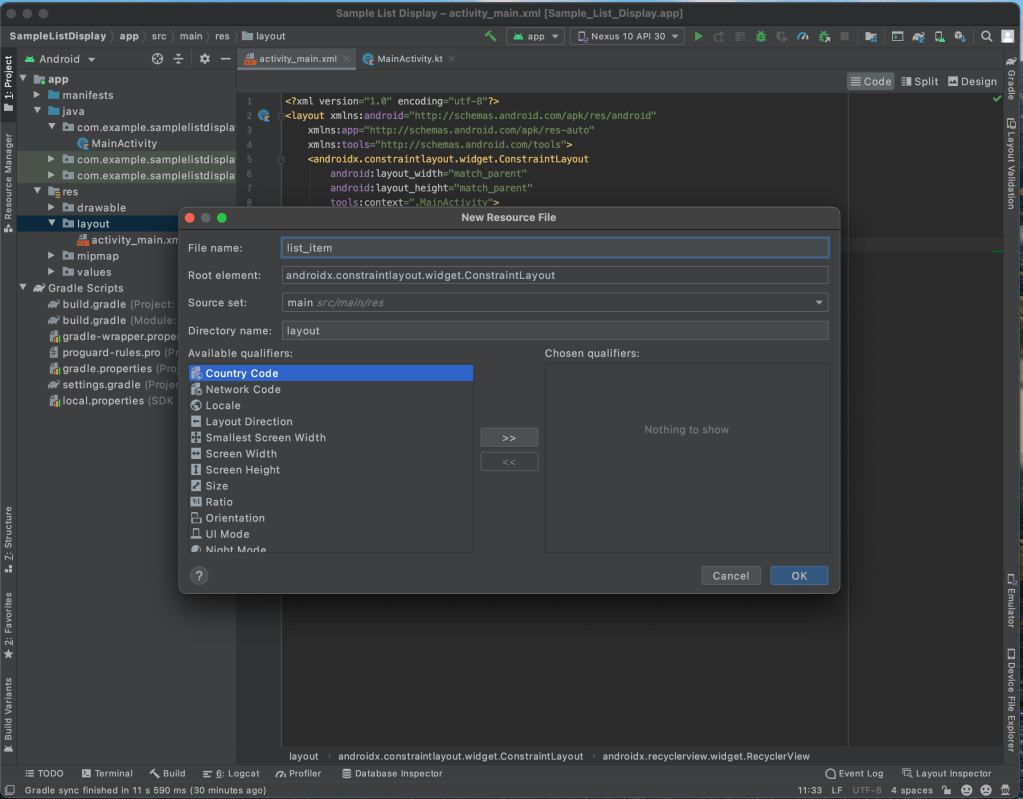
The RecyclerView needs a layout to display each fruit. Let’s create a new Layout Resource File. In the left area of your editor, expand the res folder and right-click on the layout folder, then select New and click on Layout Resource File.

Type list_item as the File name and then click OK.
Replace the code of the list_item.xml with the following codes:
<?xml version="1.0" encoding="utf-8"?>
<layout xmlns:android="http://schemas.android.com/apk/res/android"
    xmlns:app="http://schemas.android.com/apk/res-auto">

    <androidx.constraintlayout.widget.ConstraintLayout

        android:layout_width="match_parent"
        android:layout_height="wrap_content">

        <TextView
            android:id="@+id/txtFruit"
            android:layout_width="0dp"
            android:layout_height="wrap_content"
            android:layout_marginStart="16dp"
            android:layout_marginLeft="16dp"
            android:layout_marginTop="8dp"
            android:layout_marginEnd="16dp"
            android:layout_marginRight="16dp"
            android:layout_marginBottom="8dp"
            android:text="@string/item"
            app:layout_constraintBottom_toBottomOf="parent"
            app:layout_constraintEnd_toEndOf="parent"
            app:layout_constraintStart_toStartOf="parent"
            app:layout_constraintTop_toTopOf="parent" />
    </androidx.constraintlayout.widget.ConstraintLayout>
</layout>
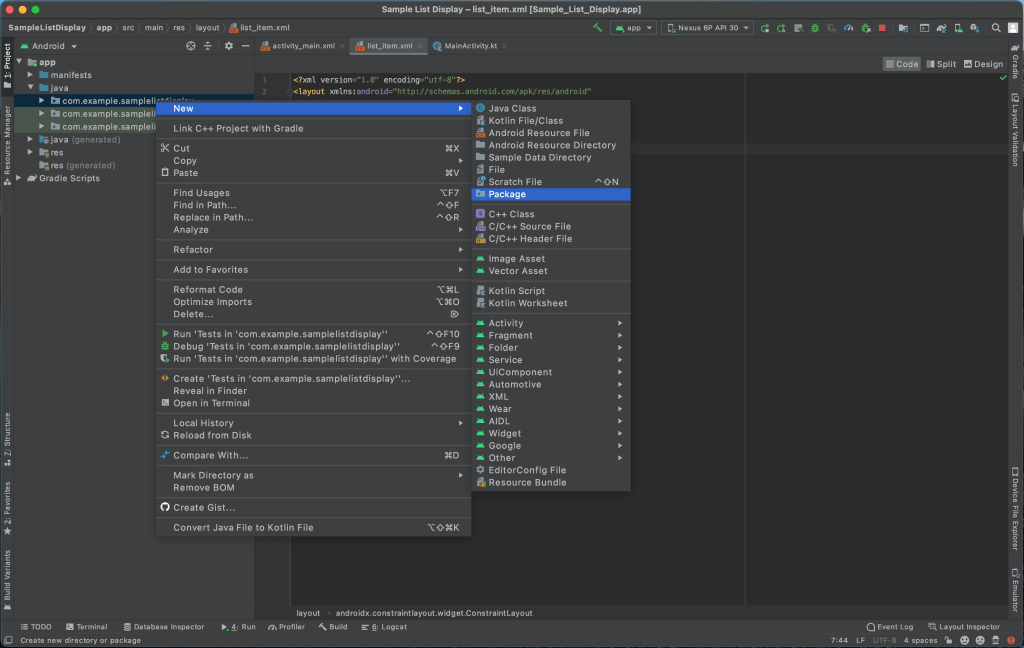
Create two new packages and name them com.example.samplelistdisplay.data and com.example.samplelistdisplay.adapter respectively. To create a package, right-click on the package com.example.samplelistdisplay, select New and then click on Package.
Each fruit item in our RecyclerView will consist of a unique id and a name. Right-click on the package com.example.samplelistdisplay.data, select New and then click on Kotlin File/Class. Select Class from the dropdown list and name it FruitData. Copy and paste the following codes in the FruitData class file:
data class FruitData (
    val id: Long,
    val name: String
)
Our RecyclerView needs an adapter to handle the data to be populated. Right-click on the package com.example.samplelistdisplay.adapter, select New and the click on Kotlin File/Class. Select Class from the dropdown list and name it FruitAdapter. Copy and paste the following codes in the FruitAdapter class file:
import android.view.LayoutInflater
import android.view.ViewGroup
import androidx.lifecycle.Lifecycle
import androidx.lifecycle.LifecycleOwner
import androidx.lifecycle.LifecycleRegistry
import androidx.recyclerview.widget.DiffUtil
import androidx.recyclerview.widget.ListAdapter
import androidx.recyclerview.widget.RecyclerView
import com.example.samplelistdisplay.data.FruitData
import com.example.samplelistdisplay.databinding.ListItemBinding

class FruitAdapter(private var list: List<FruitData>) : ListAdapter<FruitData, FruitAdapter.ViewHolder>(FruitDiffCallback()) {
    override fun onCreateViewHolder(parent: ViewGroup, viewType: Int): ViewHolder {
        return ViewHolder.from(parent)
    }

    override fun onBindViewHolder(holder: ViewHolder, position: Int) {
        holder.bind(list[position])
    }

    override fun getItemCount(): Int = list.size

    override fun getItemViewType(position: Int): Int = position

    override fun onViewAttachedToWindow(holder: ViewHolder) {
        super.onViewAttachedToWindow(holder)
        holder.markAttach()
    }

    override fun onViewDetachedFromWindow(holder: ViewHolder) {
        super.onViewDetachedFromWindow(holder)
        holder.markDetach()
    }

    class ViewHolder private constructor(private val binding: ListItemBinding) : RecyclerView.ViewHolder(binding.root), LifecycleOwner {
        private val lifecycleRegistry = LifecycleRegistry(this)

        companion object {
            fun from(parent: ViewGroup): ViewHolder {
                val inflater = LayoutInflater.from(parent.context)
                val binding = ListItemBinding.inflate(inflater, parent, false)
                val viewHolder = ViewHolder(binding)

                binding.lifecycleOwner = viewHolder
                return viewHolder
            }
        }

        init {
            lifecycleRegistry.currentState = Lifecycle.State.INITIALIZED
        }

        fun bind(fruitData: FruitData) {
            binding.txtFruit.text = fruitData.name
            binding.executePendingBindings()
        }

        fun markAttach() {
            lifecycleRegistry.currentState = Lifecycle.State.STARTED
        }

        fun markDetach() {
            lifecycleRegistry.currentState = Lifecycle.State.DESTROYED
        }

        override fun getLifecycle(): Lifecycle {
            return lifecycleRegistry
        }
    }
}

/**
 * DiffCallback
 */

class FruitDiffCallback : DiffUtil.ItemCallback<FruitData>() {
    override fun areItemsTheSame(oldItem: FruitData, newItem: FruitData): Boolean {
        return oldItem.id == newItem.id
    }

    override fun areContentsTheSame(oldItem: FruitData, newItem: FruitData): Boolean {
        return oldItem == newItem
    }
}
Let’s set our RecyclerView‘s adapter to the FruitAdapter in our MainActivity class file. Copy and paste the following codes:
package com.example.samplelistdisplay

import android.os.Bundle
import androidx.appcompat.app.AppCompatActivity
import androidx.databinding.DataBindingUtil
import androidx.recyclerview.widget.DividerItemDecoration
import androidx.recyclerview.widget.DividerItemDecoration.VERTICAL
import com.example.samplelistdisplay.adapter.FruitAdapter
import com.example.samplelistdisplay.data.FruitData
import com.example.samplelistdisplay.databinding.ActivityMainBinding

class MainActivity : AppCompatActivity() {
    private lateinit var binding: ActivityMainBinding

    override fun onCreate(savedInstanceState: Bundle?) {
        super.onCreate(savedInstanceState)
        binding = DataBindingUtil.setContentView(this, R.layout.activity_main)

        val fruitList = getFruitList()
        val adapter = FruitAdapter(fruitList)

        binding.recyclerViewFruit.adapter = adapter

        val dividerItemDecoration = DividerItemDecoration(this, VERTICAL)
        binding.recyclerViewFruit.addItemDecoration(dividerItemDecoration)
    }

    private fun getFruitList() : List<FruitData> {
        val fruitNames = listOf("Apple", "Banana", "Orange", "Pineapple", "Grape", "Kiwifruit", "Pears", "Grapefruit", "Clementine", "Peach", "Apricot", "Plum", "Mango", "Strawberry", "Blueberry", "Raspberry", "Blackberry", "Cranberry", "Passionfruit", "Watermelons", "Cantaloupe", "Carambola", "Custard-Apple", "Date Fruit", "Guava", "Lemon", "Lychee", "Longan", "Papaya", "Dragonfruit", "Pomegranate", "Tamarind")
        val fruitList = mutableListOf<FruitData>()

        for (i in fruitNames.indices) {
            val id = (i + 1).toLong()
            val name = fruitNames[i]
            val fruit = FruitData(id, name)

            fruitList.add(fruit)
        }

        return fruitList
    }
}
Run the application to see our fruit list displayed in our RecyclerView.

Well done! 😀 You created an app to display a list. Awesome! 😀

You must be logged in to post a comment.